Description
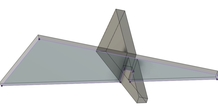
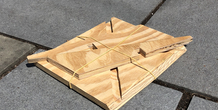
For this project, I knew I wanted to find a way to use CAD in wood working. The idea for a Foldable Bike Ramp had always been in the back of my mind, and being able to whip up virtual, 3D models without having to waste materials was intriguing, so I did it!
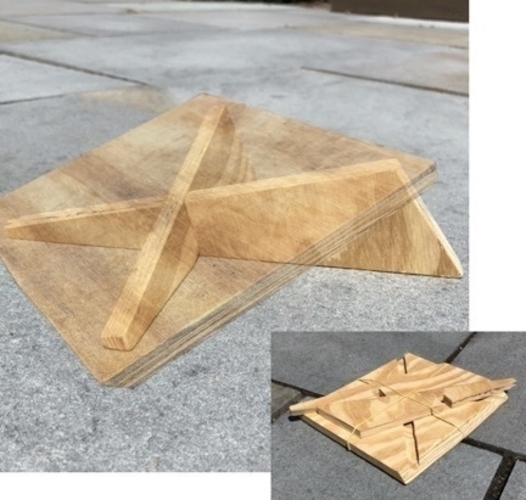
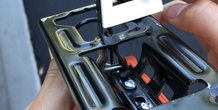
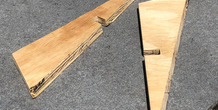
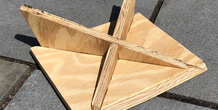
The ramp is extremely sturdy, extremely easy to assemble, and folds to LESS THAN 1" thick! I have jumped this ramp over 100 times and it is still working perfectly. It can also be used as a computer stand. I loved combining 3D design and woodworking, and will definitely be doing it more! Check out the build plans below to make your own!
Check out my website, https://www.mattiatbutera.com for a VIDEO and more in-depth explanation, or my Instagram https://www.instagram.com/mtb_3d/ for more projects!
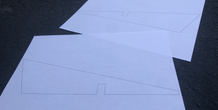
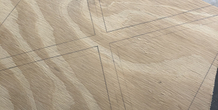
Directions (follow along with pictures above):
More from this category
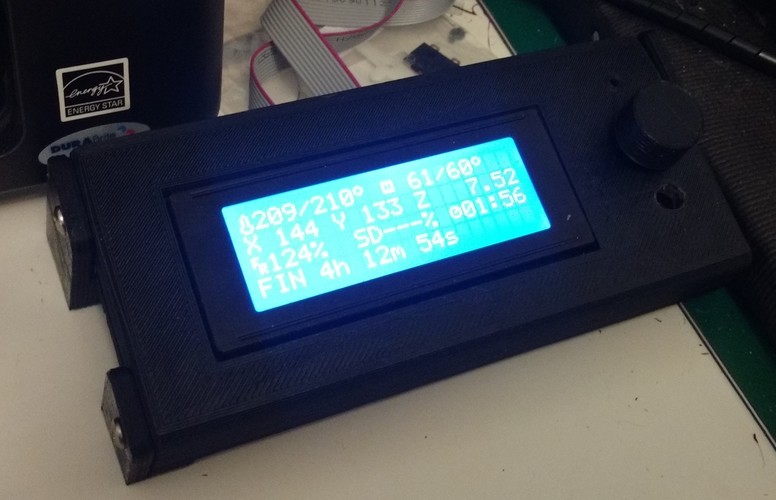
Smart LCD Case Stand Alone version
A stand alone LCD case for the RepRap Smart LCD with SdCard reader
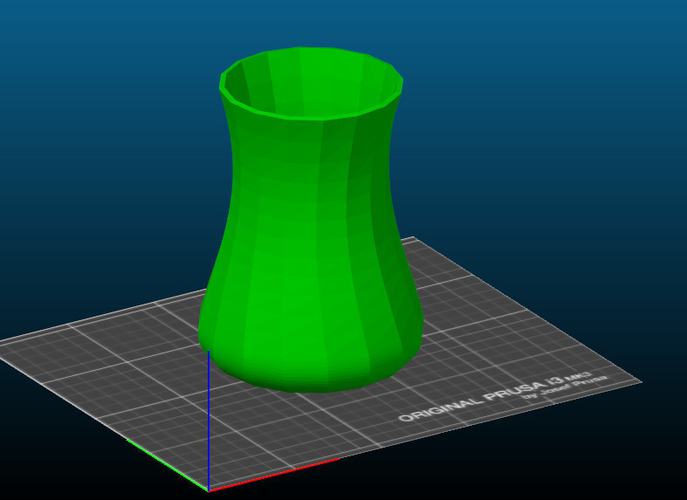
Simple Vase
by ANBR
This is my first design created by studying 3D modeling software. It is very simple, but we ...

Lion Floral Iphone Case 6/6s
This beautiful Iphone case surely looks great and is easy to print. The design was inspired by a...
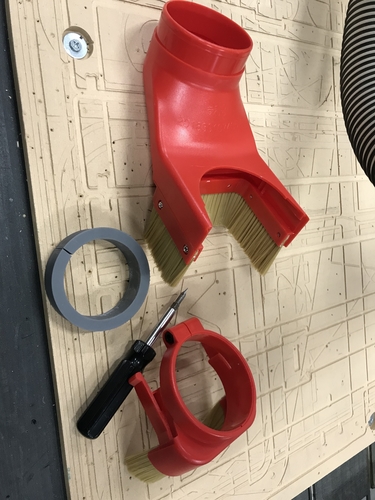
Daedalus NL330 CNC Dust Shoe 100mm to 80mm spindle spacer
by CollectorCNC
Makes the all of the Daedalus NL330 CNC Dust Shoes available on Amazon fit 80mm CNC Spi...

Apple Pencil with Smart Cover clips for iPad Pro
by vova_chmarak
Clips for iPad Pro with Smart Cover and apple pencil
Comments (1)
Sign in to leave a comment.
No comments yet. Be the first to comment!