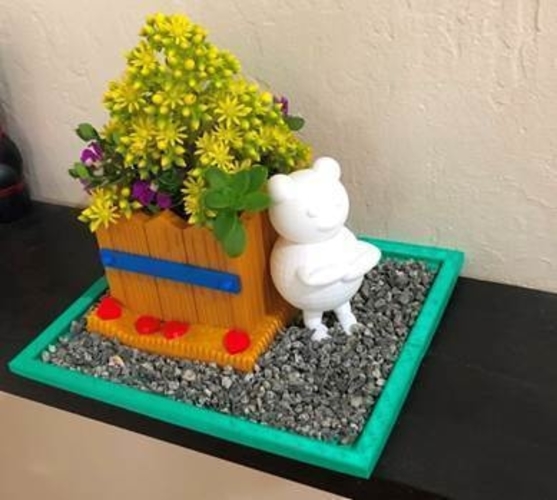
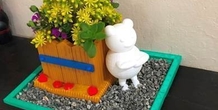
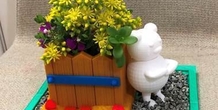
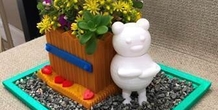
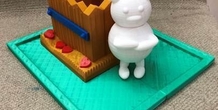
Description
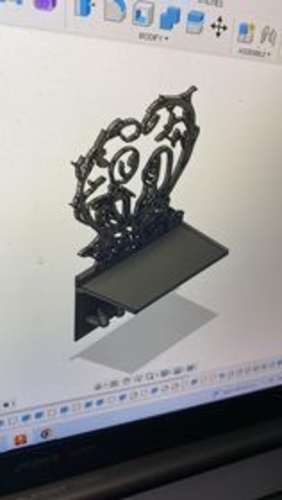
Want to design your planter pot by yourself? Are you good at designing with 3D Software? With this tutorial, I concentrate on how to design planter pot by myself using Tinkercad and bring the design to life by printing them.
for more tutorial diy, click: https://3dprintingcenter.diy4pro.com/2020/12/teddy-bear-planter-pot.html
3D PRINTING SETTINGSFor final result, we need to print all the previous design one by one. It is up to you to choose the color. For teddy bear, I choose white color for all part. Because the base pot is too large, I divide it into 2 parts. After finishing all the designs, save and export it to .stl files. Select parts you want to print and export it. Open the 3D Digilab Dremel Slicer and open the file that you want to print. Select the print option. For my printing, I used recommended option: Profile: Medium Speed Infill: 20% Generate Support: Yes (for parts with overhang and bridge) Built Plate Adhesion: Yes Click ready to slice and print it.
More from this category
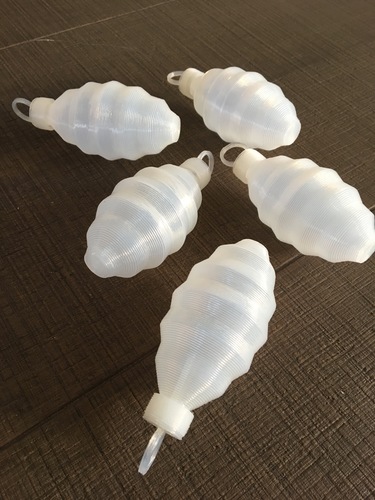
Christmas decoration pine cone
printer settings: simplify use the single outline corkscrew option for the Christmas decoration ...
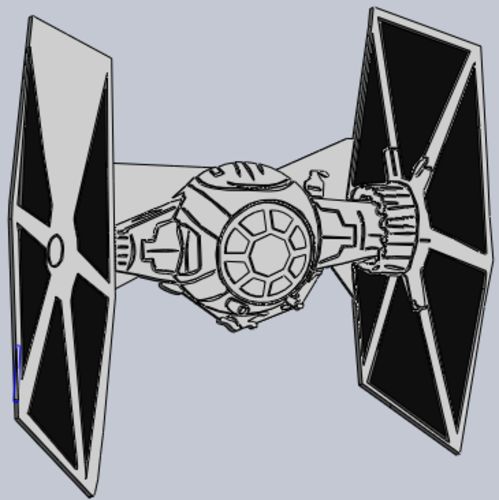
Star Wars Tie Fighter
Comment Below!! Let me know what you guys would like me to Create for you!! Reversible Tie Fight...
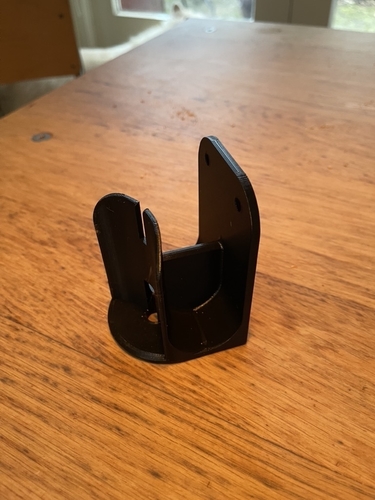
wallmount bose double cube speakers
wall mount for the little bose speakers. tilted from the wall at an angle of 22 degrees.

Bears family
by mewillk
It is a mobile holder with a family of bears pushing to support the weight. It is not the typical...

Al Barsha (0528648070) Dubai Call Girls
Al Barsha (0528648070) Dubai Call GirlsCall/Whatsapp:- O5O2483OO6 Dubai Call Girls, Call Girls in...
Comments (1)
Sign in to leave a comment.
No comments yet. Be the first to comment!