Description
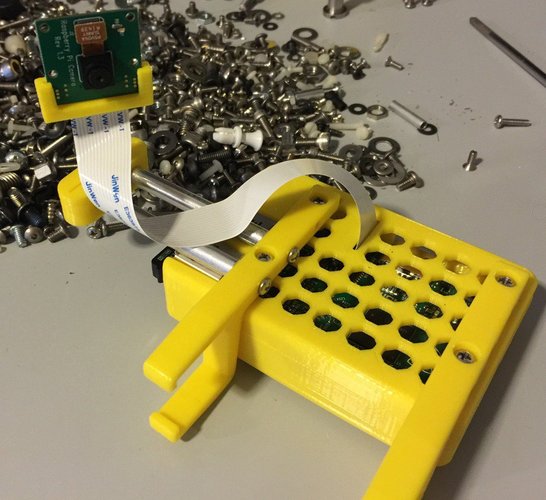
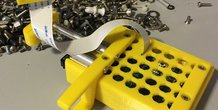
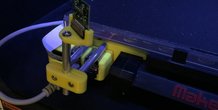
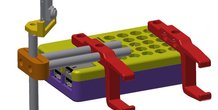
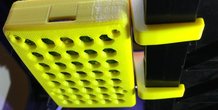
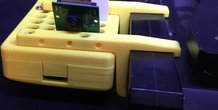
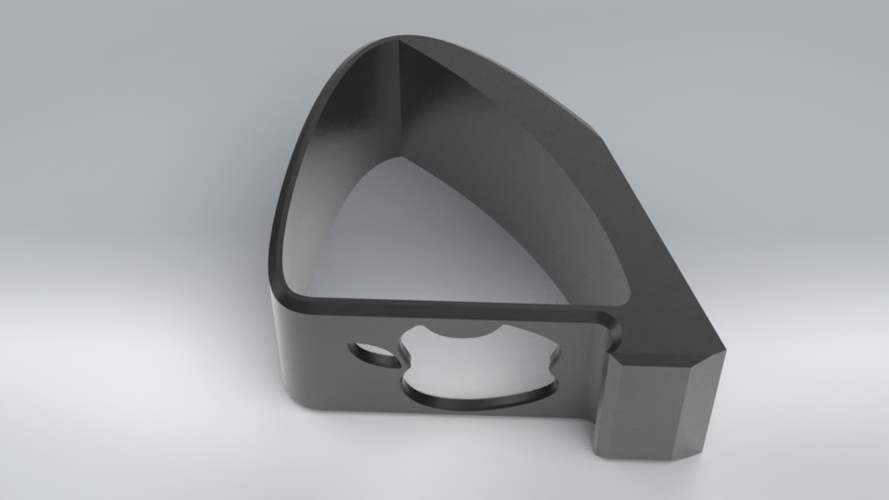
Hexy Raspberry Pi 2 Model B case, with lots of hexy octo-vents. Connectors and SD card openings, except expansion header and the display header. I didn't need need those for my Astroprint. But wait, there's more! It has attachments to mount this to your OEM Makerbot Replicator 2 arms. I will revise once I get my aluminum arm upgrade, one day. It is the Thing that keeps on giving, you also get a super adjustable camera mount, with adjustability in the Y axis, Z axis and a pan axis. Enough adjustment to keep you away from trouble and still get the shot. I use this for my Astroprint setup. NOTE: Photos show alpha unit. All improvements were added to the design and the beta design is what you download here. The alpha unit works well enough for me, I don't need to print beta. But, if you look a the photos, you will see differences from the design files.
More from this category
Smart LCD Case Stand Alone version
A stand alone LCD case for the RepRap Smart LCD with SdCard reader
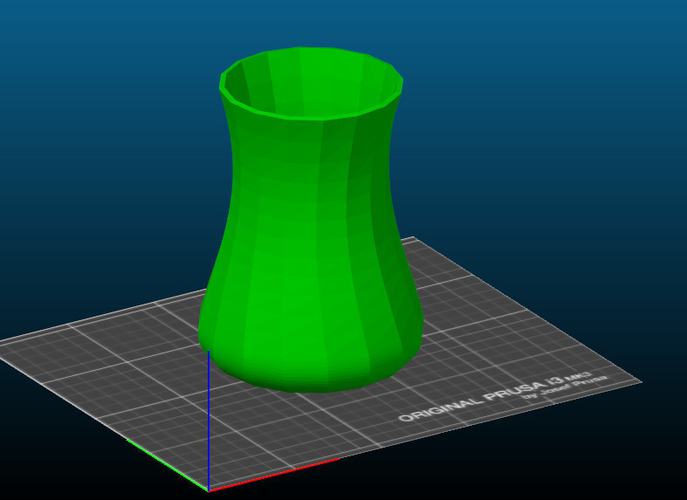
Simple Vase
by ANBR
This is my first design created by studying 3D modeling software. It is very simple, but we ...
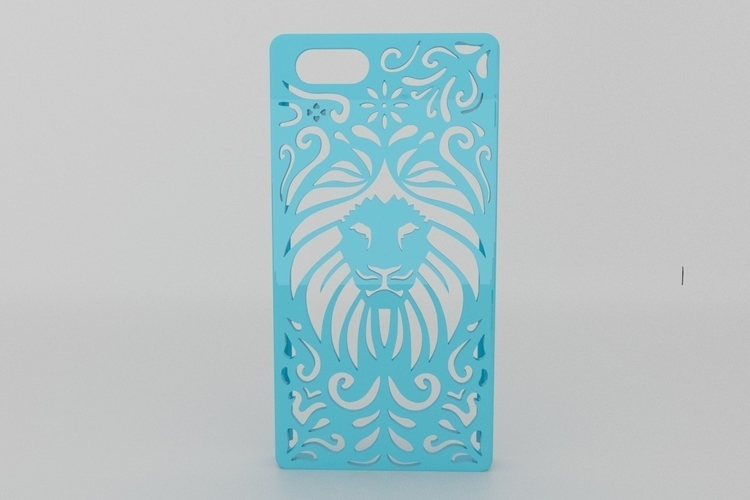
Lion Floral Iphone Case 6/6s
This beautiful Iphone case surely looks great and is easy to print. The design was inspired by a...

Comments (2)
Sign in to leave a comment.
This looks awesome! Can you share any specs for the screws and metal arms you used? [Edit: copied from Thingiverse: You will need some nuts, screws, standoffs and of course a Raspberry Pi 2 Model B and Pi Camera 1.3.
The camera mount is simple, just slide it into the slots. It's not a complete camera enclosure, just a simple open mount.
The standoffs need to be 1/4" OD with a #4-40 female on each end. The length needed is about 2.5", but 2" or 3" will work.
The unit is made with a combination of #4-40 x 1/4" and 1/2" socket head caps screws or pan head, and a 4 x #4-40 x 7/8" flat head screws. Don't forget the hex nuts.
You will have to tap a few holes with a #4-40 tap.
When assembled, unit slides on and off the Rep 2 arms with ease. Stays in place while printing.]