Description
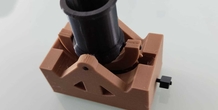
3d model of the bombard designed by Leonardo DaVinci (see https://commons.wikimedia.org/wiki/File:Bombarda_interattiva_tratta_dal_disegno_di_Leonardo_da_Vinci.png).
The final model is composed by some parts that need to be assembled together.
Here are the printing instructions:
- 1) print 1x bombard_base
- 2) print 1x bombard_halfarch_easy
- 3) print 1x bombard_cannon
- 4) print 2x bombard_big_pin and 2x bombard_big_pin_quad
- 5) print 1x bombard_handle_small (either in vertical with brim or horizontally)
- 6) print 1x bombard_handle_big (either in vertical with brim or horizontally)
- 7) print 1x bombard_handle
- 8) print 1x bombard_handle_screw (in vertical with brim)
Here are the assembly instructions:
- 1) place the "bombard_halfarch_screw" inside the slot in the "bombard_base" and then insert both "bombard_handle_small" and "bombard_handle_big" inside the respective holes and insert them inside the screw (place a drop of glue if needed)
- 2) insert the "bombard_handle" in the "bombard_handle_big" from the outside of the "bombard_base"
- 3) insert the "bombard_big_pin_quad" inside the "bomard_halfarch" holes in order attach the "bombard_cannon"
- 4) insert the "bombard_halfarch" together with the "bombard_cannon" to the base and use the "bombard_big_pin" to attach it to the base
Now you can use the handle to move the cannon.
If you want you can also use a more realistic but more difficult to assemble half arch version:
- print 1x bombard_halfarch + 11x bombard_small_pin
- insert the pins inside the half arch holes (if you need use pliers)
If you want you can print the "bombard_base_internal_view" instead of the "bombard_base" in order to let you see the mechanism inside that let the cannon move.
3D printing settings:
- total printing time: about 3 hours
- layer height: 0.20 mm or 0.15 mm
- no support needed
Enjoy it!
More from this category
Explore Making: VeggieMake
Students are given a VeggieMake (a toy that turns produce into a cute character)– but the pieces ...

Dubai Call Girls Service 0525382202 Indian Call Girls in Dubai
by voyal73886
Dubai Call Girls Service 0525382202 Ind
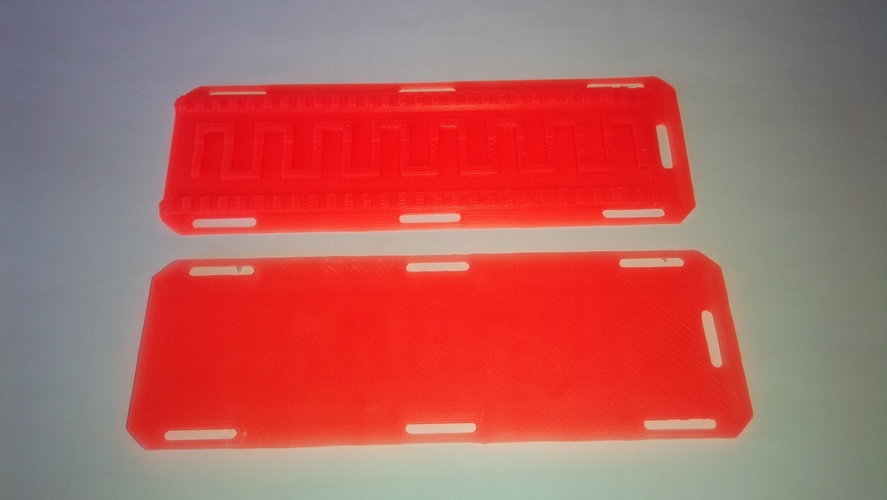
Scale 1/10 car rescue board
by Gekon3D
This is a scale car rescue board for your RC car equipment. Two possible way to print this...
Comments (0)
Sign in to leave a comment.
No comments yet. Be the first to comment!