
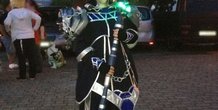
Description
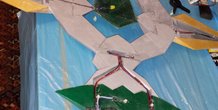
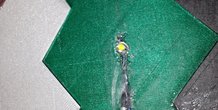
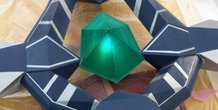
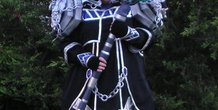
I have made this staff for cosplay at an event called “JapanAniManga night". The designing in the 3d program, printing, building and painting took around half a year. It is almost 1.8 meters in length. A special detail I payed attention to are the green crystals, they are hollow with LEDs inside and glow beautifully at night.
The staff was my first own 3d project. I have previously never really worked with a 3d program. I've drawn the whole thing with Google Sketch Up. I bought my Ultimaker2 for this project, so I did not have any experience with 3d printing as well. Therefore, there may be a few parts that need slight adjustments after printing to fit together better. I had to sharpen some edges, use glue etc. to put it together correctly.
Inside the lower part of the staff is a carbon rod with a 1 cm diameter and a length of 1m. The carbon rod made the whole staff a lot more stable. I had to create extra fixations and glued them inside the staff to make the staff durable enough to carry it around all day.
On the assembly itself:
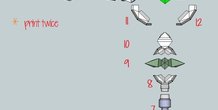
I put the staff together from bottom to top after I printed all parts (see picture with named parts).
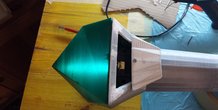
In component 2, I placed a screw through the cover and fixed with a small nut. I glued a small magnet to the lid and this way I had a way to close the lid and keep it closed.
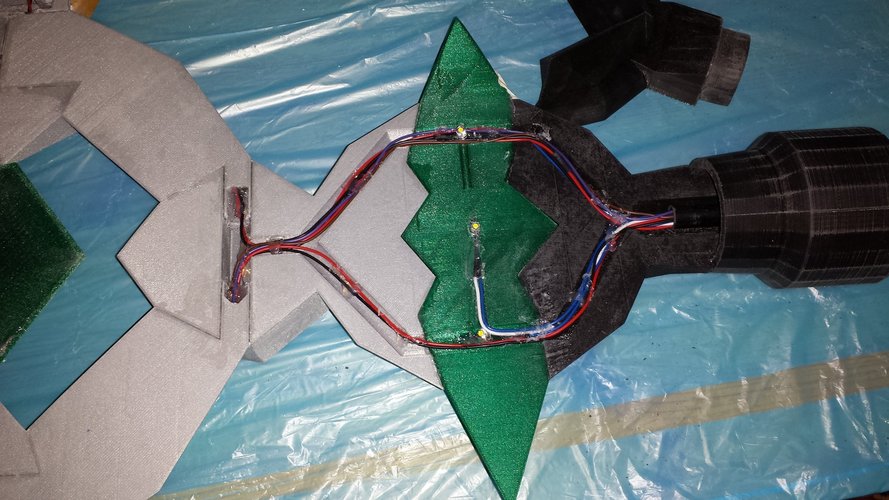
Inside that lid is a 9V battery, and it’s connected to the 14 LEDs placed in all the crystals throughout the staff.
Component 9 was hard to fixate and used a lot of glue, since it held the whole upper part of the staff.
After component 8 and 9 I made the upper part of the staff only one half at the time, so I could put all the power lanes and LED’s inside them fist.
Component 9 has 6 small LED in 3 x 2 pairs, Number 18 has 1 large 8 mm LED with 360° beam angle, the crystal Number 16 (printed twice) and Number 21 use 6 small LEDs together.
To fix all wires in place I used a little bit glue.
After all LED's and cable were placed I glued the both halves together.
Tips on printing: Since it was my first 3d project I designed myself I had to fix quite a lot after printing.
I had to readjust some corners of printed parts since they sometimes raised themselves while printing. With a heat gun I readjusted them where needed. I had to patch up the pieces where I glued them together and grinded off the glue to make them look neat
I painted the Crystals (1, 9, 16, 18 and 21) with a liquid silicone to protect them while painting the surface of the rest of the staff. Then I painted a transparent matte finish on the whole staff to protect it a bit from scratches etc.
Print settings are written in the title of the parts and some parts need additional supports.
More from this category
Explore Making: VeggieMake
Students are given a VeggieMake (a toy that turns produce into a cute character)– but the pieces ...
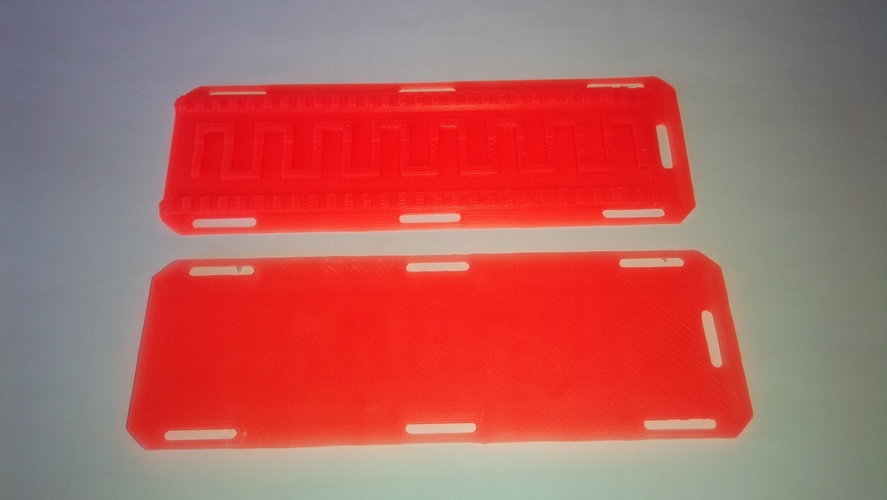
Scale 1/10 car rescue board
by Gekon3D
This is a scale car rescue board for your RC car equipment. Two possible way to print this...
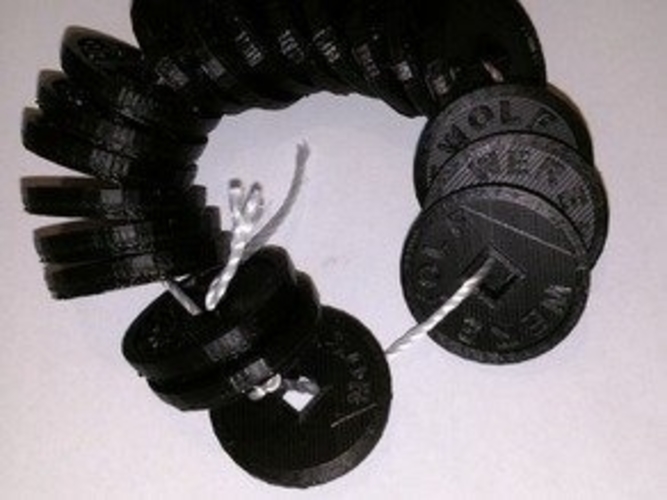
Werewolf Game Tokens
by Pax13
I enjoy a good game of Werewolf (alternate version of Mafia), and wanted to see something a littl...
Comments (4)
Sign in to leave a comment.
Want to put a download on sabong? then I recommend this service https://sabongbets.com/review/sabong-worldwide/ . This review provides information about Sabong Worldwide, which offers cockfighting gambling. Here you'll find a detailed description of their offerings, player experience and other interesting features. If sabong piques your interest and you're looking for a reliable place to bet, a review on Sabong Worldwide will help you make an informed decision!
Wow, this is amazing! How much time do you think you spent on the design, printing, building and painting all together?
Sorry, with in half year I mentioned in the description is the building and painting included. I corrected that sentence.