Description
If you want more information and to see it more closely, watch this video: https://youtu.be/Za5byBQs0I4
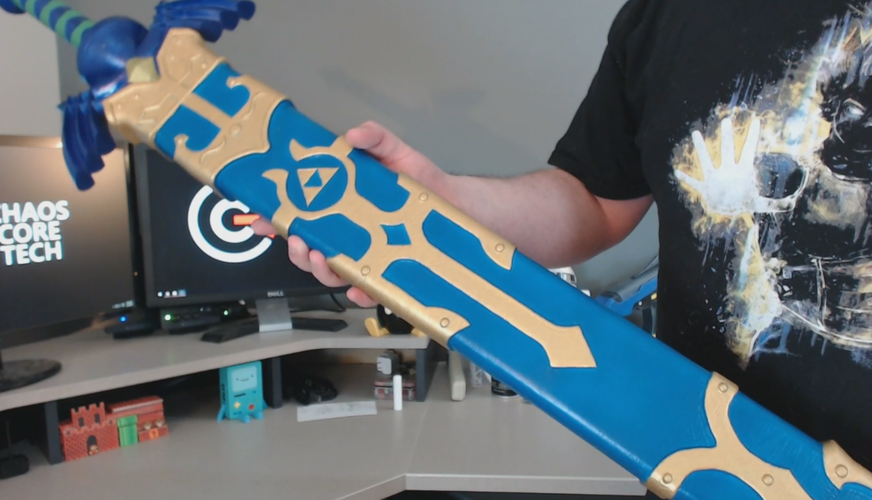
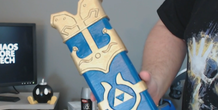
This is the sheath that goes along with the Master Sword I created here: https://pinshape.com/items/20134-3d-printed-master-sword-full-size-legend-of-zelda
I created this sheath in Fusion 360 along with the sword. I printed this on my Robo 3D R1 using Hatchbox White PLA. The settings I used for this are listed below. The whole thing took about 14 hours to print.
Print Settings: Layer Height: 0.3mm Infill: 20% Supports: No Raft: No
Post-Processing: Step 1: Print and Assemble. Print all the pieces out and use the keys provided to position everything correctly.
Step 2: Glue. Use Super Glue to glue all of the pieces in place. Let them sit until the glue completely sets up. We let ours sits for several days.
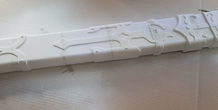
Step 3: Hide the seams. We used Loctite repair putty and just smeared it on the seams in order to cover them up.
Step 4: Sanding. Sand any rough spots and make sure to get the repair putty sanded down flush with the rest of the sheath.
Step 5: Prime. Apply a couple coats of plastic primer, letting it dry completely after each coat.
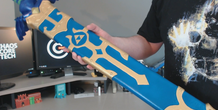
Step 6: Paint the blue sections. We used an airbrush for this, but any painting technique can be used.
Step 7: Paint the gold. Again, any technique can be used, but we went with a small painting sponge to give it a cool texture and allow for easy coverage on these big areas. Just dip the sponge in the paint and dab it all over the areas you want to paint.
Step 8: Apply some sort of finishing coat to it in order to protect it from damage to the paint.
More from this category
Explore Making: VeggieMake
Students are given a VeggieMake (a toy that turns produce into a cute character)– but the pieces ...
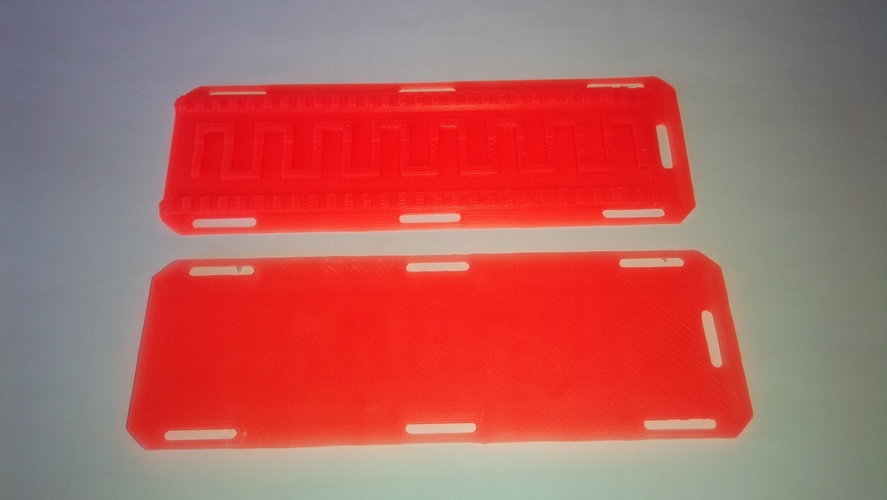
Scale 1/10 car rescue board
by Gekon3D
This is a scale car rescue board for your RC car equipment. Two possible way to print this...
Comments (3)
Sign in to leave a comment.
can give us the request you need.
Hello I am Debbie.we can do it for you,and we have our own industrial 3D printing machine/vacuum machine,can change the color on the surface.please email us when you needed:gaojiemodelsales01@163.com. would give you response soon.