

Description
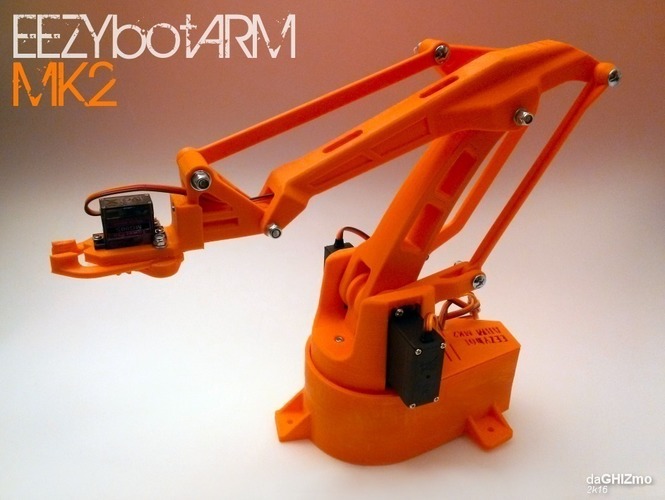
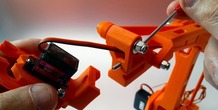
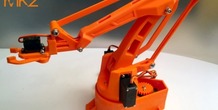
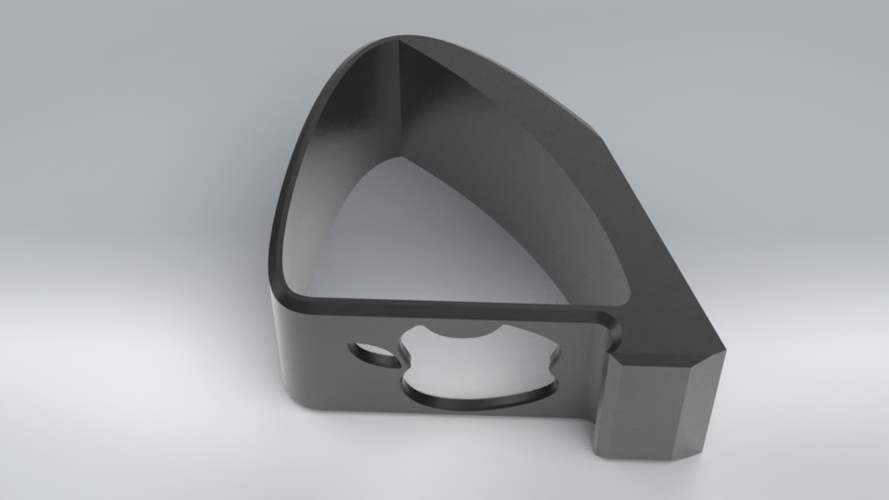
SummaryThis is a 3D printed robotic Arm.
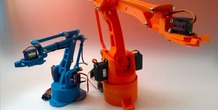
It follows the success of my previous smaller one EEZYbotARM so I simply called it MK2 (make 2)
It is a little bigger and stronger, just to obtain an acceptable payload.
It has been designed without a definite purpose, the aim is educational, providing a suitable hardware that allow to concentrate on exploring all its potential applications.
It shares the kinematick linkage of the ABB IRB460 scaled down with a ratio of 1:7
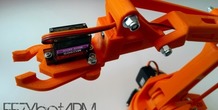
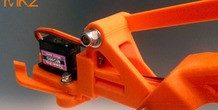
I implemented also some little features like: a replaceable clamp with quick coupler, internal cable routing in main big arms, vertical axis supported by spheres.
I'm also evaluating if it is necessary to add a counterweight or a balacing spring for the main arm.
printing & first test video: EEZYbotARM MK2 first test
NON PRINTED PARTS BOM list :
n°3 995 or 946 servo
n°1 SG90 SERVO
n°1 M6 selflocking nut
n°1 M6x25 screw
n°2 M3 selflocking nuts
n°2 M3 x 20 screws
n°1 M3 x 10 hex recessed head screw
n°9 M4 selflocking nuts
n°1 M4 x 40 screw
n°1 M4 x 30 screw
n°5 M4 x 20 screw
n°1 M4 x 60mm threated rod
n°1 M4 x 32mm threated rod
n°25 Ø6 mm ball spheres
n°1 606zz bearing
some M4 washers
SOFTWARE / FIRMWARE
As it has been already said on the previous issue, there are several ways to drive the arm. It depends on what kind of results you want to obtain.
Mainly depends if you want to freely move it or make it repeat a loop.
I found easy using a Pololu Mini Maestro card that doesn't requires writing any code.
Anyway I made an Instructables: Android APP to control a 3DPrinted Robot where you can find some code
I'll made some updates in next days
HAPPY ROBOTING!
update 04/06/16
ONSHAPE claw std interface editable model
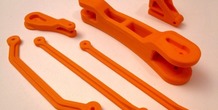
begin to make an assembly instruction on my web site eezyrobots.itPrint SettingsPrinter Brand: RepRapPrinter: PRUSAi3Rafts: Doesn't MatterSupports: YesResolution: 0,3Infill: 30%Notes: It is a little more challenging to print than the MK1 due to its dimensions and also some parts geometry.
It requires a printing area of about 200x200 mm and some pieces needs to be printed with supports enabled. Most people are scared by support (also me) but at the end its a tecnique that works and solve a lot of problems, so why not?Post-Printingas for mk1 all holes are slightly tight because I prefer to adjust the size using an exact drill bit to recover any kind of possible misalignements
More from this category

Pain Train Knuckles
by Eric Darnold
Plastic knuckles that work very well in a pinch.
10 ❤️
2 💬
0 ⬇️
$1.0
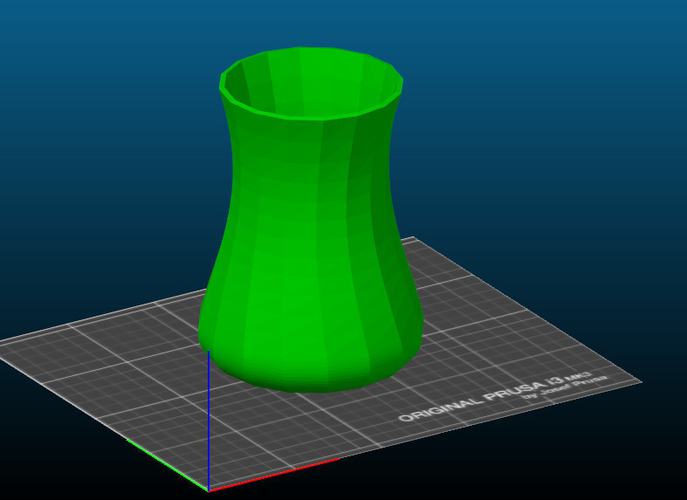
Simple Vase
by ANBR
This is my first design created by studying 3D modeling software. It is very simple, but we ...
3 ❤️
1 💬
0 ⬇️
Free
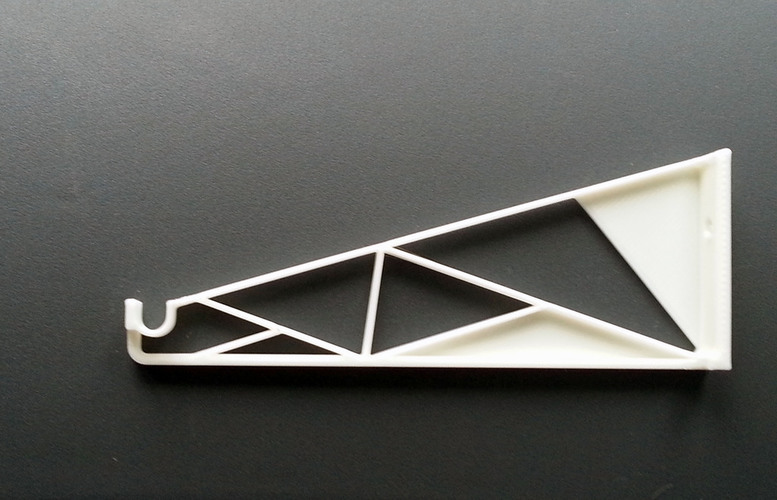
Filament Shelf Bracket ( 17g weight, up to 4,5 kg )
by jedynak
SummaryThis small Bracket has a dimension 17 cm and weight 17 g. Can lift up to 4,5 kg. Mounted o...
4 ❤️
1 💬
0 ⬇️
Free
Fatshark camera lens cover
by vvdd
SummaryYou will eventually loose the cover..here is a replacement to protect your Fatshark Camera
0 ❤️
1 💬
0 ⬇️
Free
Lion Floral Iphone Case 6/6s
This beautiful Iphone case surely looks great and is easy to print. The design was inspired by a...
2 ❤️
1 💬
0 ⬇️
$2.0
Comments (13)
Sign in to leave a comment.
Make money online from home extra cash more than $18000 to $21000. Start getting paid every month Thousands Dollars online. I have received $26000 in this month by just working online from home in my part time. every person easily do this job by.
just Open This Website.....> https://quicksrich.blogspot.com/
https://sheetalarora.com/
If you love to spend time with hot and beautiful call girls service in Surat. Make your dream come true with hot and beautiful call girls in your budget with Surat Escorts.
this is a very good and excellent design i need the owner of this design to form a design for this website <a href="https://online-vat-calc.com/">Calculator</a>
https://panjproducts.com/softsfeel-shoes-the-most-comfortable-shoes/
Thank you
Code for operating it using Raspberry Pi?
i like this design can i ask you if i wanted to design something like this from scratch how do you know the measurement and how the connect together ?,i have been using cad for awhile but never printed anything i want to start printing but dont know how to come up with the measurements,, maybe i can download this and make the drawings then model it from those drawings seems like alot of extra work if i had the drawings
nice im gonna print it jeer ty designer ill post something when im done
how much weight can it lift? im looking for something i can mount on an rc vehicle base and attach a video camera so a disabled person can drive it into small spaces, like under a bed and retrieve dropped objects like a phone.
what do you think about trying to convert this into a 3d printer? That would be amazing!