Description
UPDATE 8/9/2018: Somebody downloaded this design, and then uploaded it to their own Thingiverse page without attribution, pasted my copy from here into that description, and ripped my YouTube video of me demonstrating the design, then uploaded that to their own YouTube page. As a result of all that, I am now putting a price on this design to discourage any further thefts.
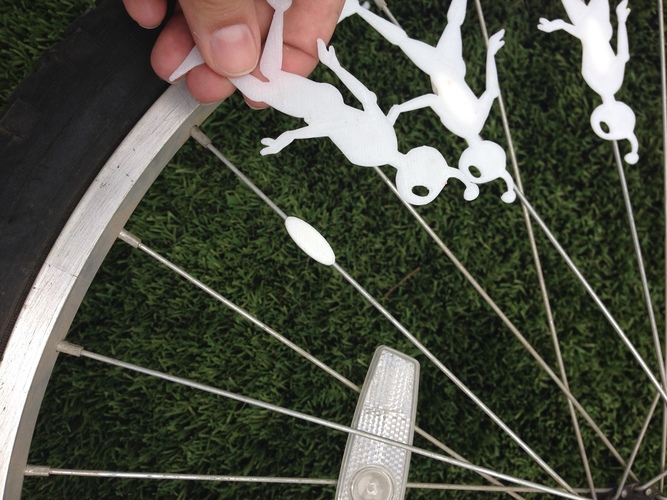
This design turns your bike wheel into a zoetrope!* It was designed for 18 spokes (on one side of the wheel. There should be 36 spokes altogether), with two cycles of the full animation. The files included are robotbody 1-9, and two sets of clips to attach them to the spokes; one for 3.5mm wide spokes, and one for 2mm wide spokes. Measure the diameter of your bike spokes first before you start printing, so that you know which set to use. You will also need some heavy duty glue to attach the bodies to the spoke clips. I recommend E6000, which is what I used for mine. It hardens fairly quickly, and has a good hold.
The robot bodies are 4.25" tall, and 2mm in thickness, so they should fit on most printer platforms.
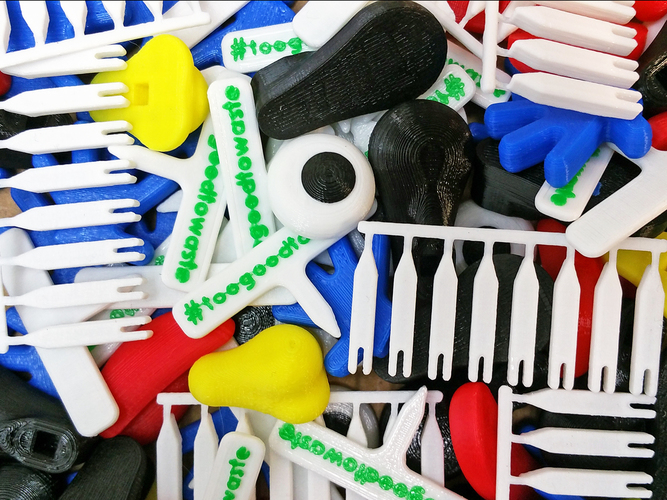
Print out 2 each of robotbody1, robotbody2, robotbody3, robotbody4, robotbody5, robotbody6, robotbody7, robotbody8, and robotbody9. I printed mine at .35, half with rafts and half without, on my Up Mini printer in ABS. I recommend numbering each print on the back as they come off the machine, so that you can easily access the right pieces for the cycle when it comes time to attach them. You will most likely need exactly 18 of the long bike clips in either 3.5 or 2mm, but you might wish to use the short clips instead, because they're a little easier to snap onto the spokes. In that case I would print 36 of them, to give the bodies at least two points of attachment. For the bike clips, I printed them at .2, using fine quality, and I put rafts on mine to help with warping, but you might be able to do without. It's important to print them at the best resolution you can to get a nice fit. UPDATE: For those of you with 16 spokes on one side, you can easily remove robotbody6 from your prints, and the walk transition will still be smooth.
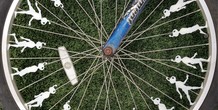
Once everything is printed, lay your bike on the ground horizontally, and try to keep the wheel as level as possible. Before attaching the bike clips, make sure that they will be completely hidden by each body. Next, arrange the pieces as closely as you can to the photo of the full wheel, and try to keep the spacing of the bodies even (it will be difficult, because the spokes themselves are not at even spacing. In some cases you may need to put the body at a slight angle to the spoke, but keep the grounded foot on the rim of the wheel.) Go along each spoke one by one gluing each body to a bike clip already clipped to the spoke. Once everything is dry, you can spin the wheel, and test out the animation by viewing it through your cell phone lens!
*NOTE: You can only see the animation through a digital camera lens, such as your cell phone's, or by using a strobe light on it at night. To the naked eye it will just be a blur when you spin it.
You can view the finished design on a spinning wheel here: youtu.be/BAm2CBE2-qg
More from this category
Explore Making: VeggieMake
Students are given a VeggieMake (a toy that turns produce into a cute character)– but the pieces ...
Scale 1/10 car rescue board
by Gekon3D
This is a scale car rescue board for your RC car equipment. Two possible way to print this...
Comments (17)
Sign in to leave a comment.
Merci beaucoup
There is a whole subculture of these people that make a living as leeches. I hate this happened to you and hopefully monetizing this will prevent future ocurrences.
https://essentialsclothing.io/
https://essentialsclothing.io/
Super!!!!!!
süper
Hi, - i want to purchse it, but don´t know what Sort of Card-Number i must have. Is there no option to use paypal?
Honestly, I've never tried before, so I don't know. Their FAQ says they take credit cards, but doesn't mention anything else. I'm actually kind of surprised by that, but you'd have to talk to a Pinshape representative to get more information about it, because I might be wrong. Thank you for your interest in my design!
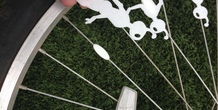
how do you attach them ?
Make as many bike clips as you will need, and then clip them to your wheel spokes. You would then have to glue the animation pieces to the flat side of the bike clips. Check out the second photo to see what I mean.
if you cant see it with the naked eye whats the point?
awesome !
I love this!
I'm having trouble adding the video to the description, so here's the link to it: https://youtu.be/BAm2CBE2-qg
Your video is listed as private and I could not access it.