Description
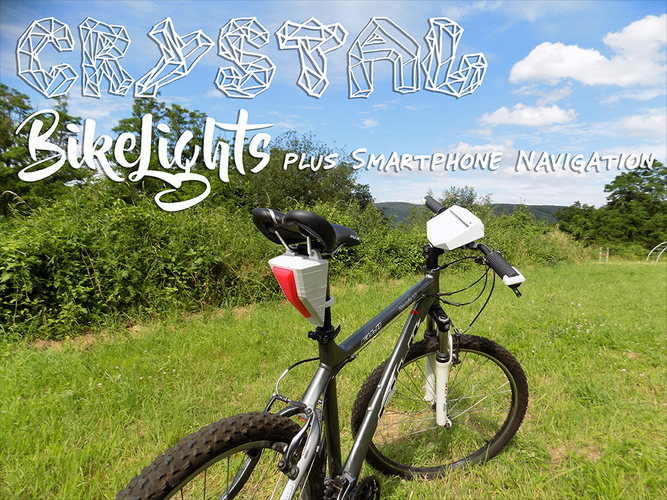
This is my entry for the Pinshape Bike Accessory Design Contest!
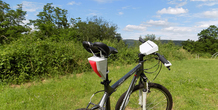
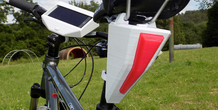
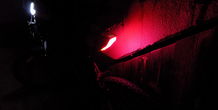
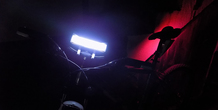
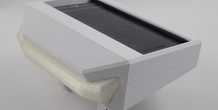
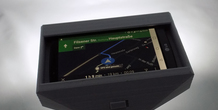
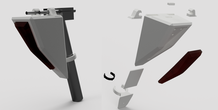
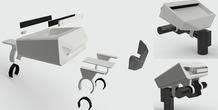
I designed a frontlight and backlight for your bike. The frontlight integrates a smarthone holder for bike navigation. A spring mechanism automatically holds your smartphone in place. It fits many sizes because of this spring mechanism.
The Lights also fit on many bikes because of the easy clip-on system.
------------------------------------------------------------------------------------
I made a short demonstration video on YouTube: Crystal BikeLights Demonstration Video
You can find the matching Crystal Bike handles with integrated Blinker/Indicator here: Crystal Bike Handle with integrated Blinker/Indicator
------------------------------------------------------------------------------------
The following parts should be printed in flexible rubber-material:
- FrontlightRightArmRubber.stl
- FrontlightLeftArmRubber.stl
- FrontlightBottomRubber.stl
- FrontlightBottomArmRubber.stl
- FrontlightAdjustmentPlateRubber.stl
- BacklightArmBackRubber.stl
The FrontlightLight.stl should be printed in transparent material and the BacklightLight.stl in red transperant material. For the rest you can choose every color or material you want. ;)
Some parts need a little bit of support, but the most parts are support-free.
------------------------------------------------------------------------------------
You need the following non-printed parts:
- 2x 7x12.5mm spring
- 12x white 5mm led
- 6x resistor 330 ohm
- 2x micro switch (http://www.ebay.com/itm/10-bre...)
- thin cables (0.14 mm²)
- 2x 9V batteries and connector for these (http://www.ebay.com/itm/10Pcs-...)
------------------------------------------------------------------------------------
You connect 2 leds with one resistor in a row and 3 of these pairs parallel. Then connect them to the battery connector and make the switch between. You can hotglue the leds in place. The rubber inlays should be glued as well. You can see the assembly of the lights at one of the pictures.
------------------------------------------------------------------------------------
I hope you like my design! When you print it, please upload some pictures! Thank You!
More from this category

Pain Train Knuckles
by Eric Darnold
Plastic knuckles that work very well in a pinch.
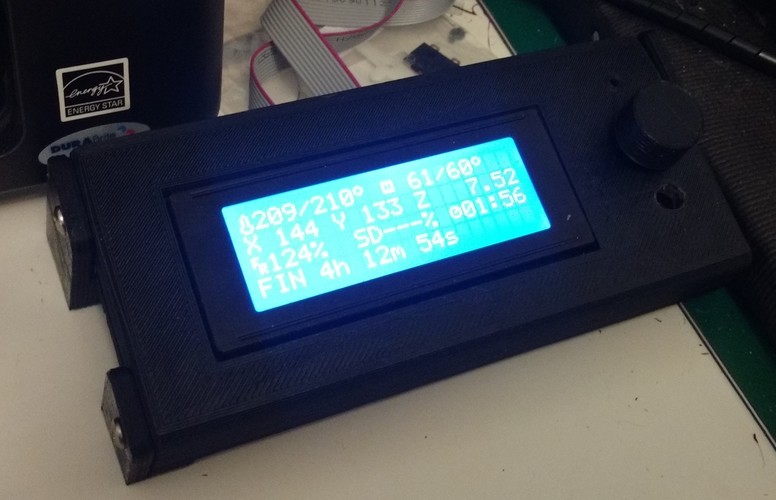
Smart LCD Case Stand Alone version
A stand alone LCD case for the RepRap Smart LCD with SdCard reader
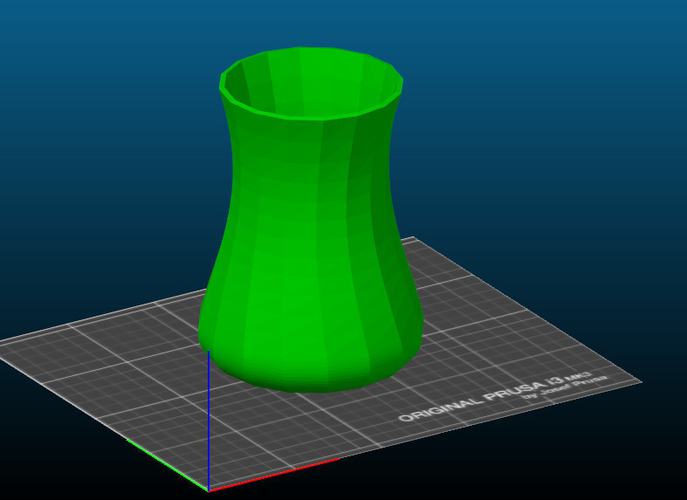
Simple Vase
by ANBR
This is my first design created by studying 3D modeling software. It is very simple, but we ...
Fatshark camera lens cover
by vvdd
SummaryYou will eventually loose the cover..here is a replacement to protect your Fatshark Camera
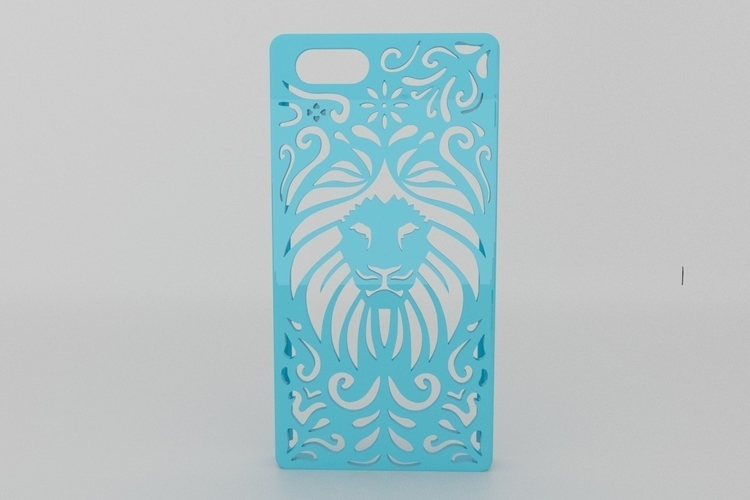
Lion Floral Iphone Case 6/6s
This beautiful Iphone case surely looks great and is easy to print. The design was inspired by a...
Comments (1)
Sign in to leave a comment.
No comments yet. Be the first to comment!