


Description
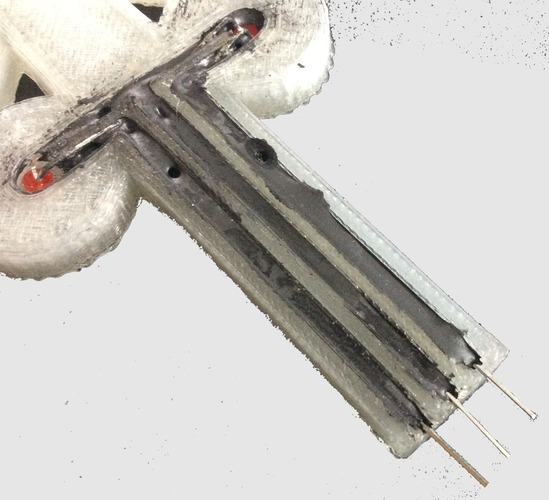
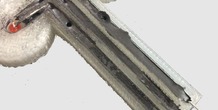
SummaryI wanted to create a 3D printed circuit using conductive ink similar to a Voxel 8 3D printer but on the cheap. I found some conductive glue at Radio Shack and used it to make a 3D Printed Train Crossing Circuit powered by an Arduino. The circuit just flashes LEDs back and forth like a train crossing and a key part of the circuitry is conductive ink placed in channels in a custom 3D print.
You can see more details at my YouTube Channel:
https://youtu.be/k-52WRqUocw
I used this conductive glue from Radio Shack:
http://shack.net/1R1aNR6Print SettingsPrinter: MakerfrontRafts: NoSupports: NoResolution: 0.3Infill: 25%Notes: You can use any fill or resolution. I used clear filament to make it easier to see the conductive ink.Post-PrintingJust add the conductive glue/ink to the channels to make the circuitry connections.How I Designed ThisI designed the traffic light with channels in Tinkercad
More from this category

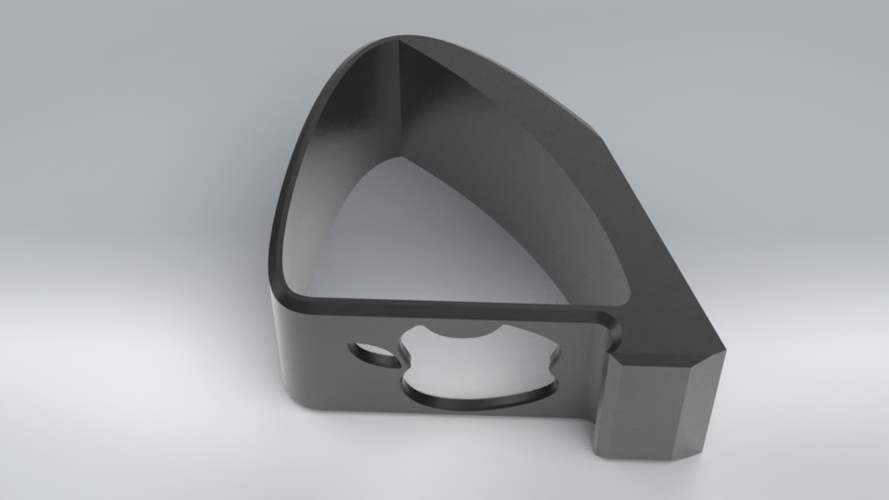
Pain Train Knuckles
by Eric Darnold
Plastic knuckles that work very well in a pinch.
10 ❤️
2 💬
0 ⬇️
$1.0
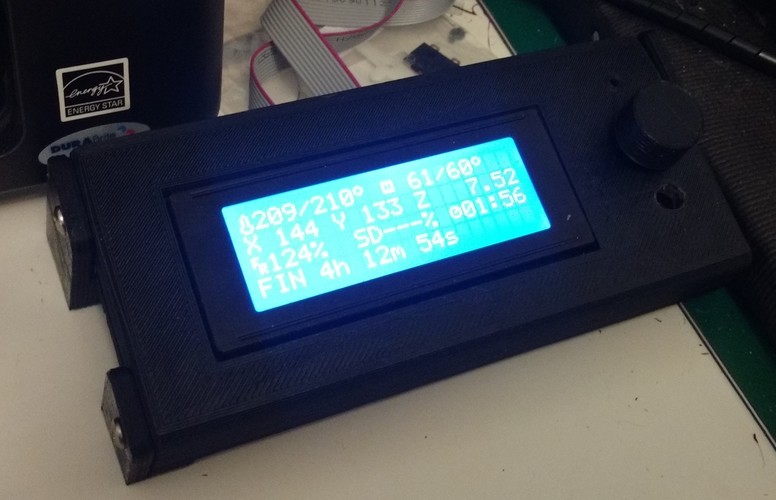
Smart LCD Case Stand Alone version
A stand alone LCD case for the RepRap Smart LCD with SdCard reader
7 ❤️
2 💬
1 ⬇️
Free
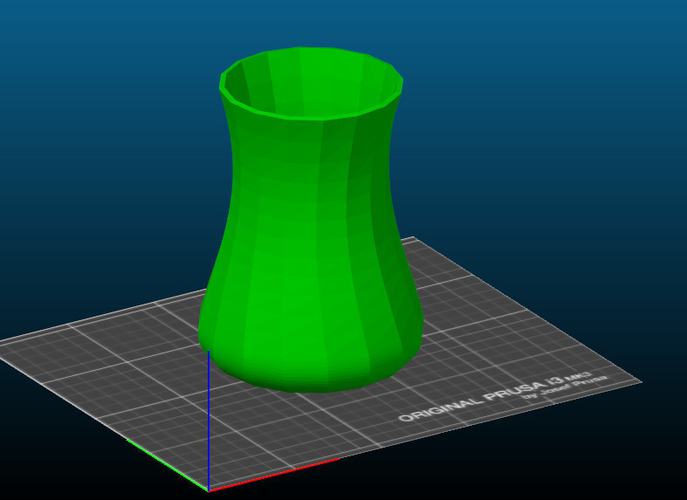
Simple Vase
by ANBR
This is my first design created by studying 3D modeling software. It is very simple, but we ...
3 ❤️
1 💬
0 ⬇️
Free
Fatshark camera lens cover
by vvdd
SummaryYou will eventually loose the cover..here is a replacement to protect your Fatshark Camera
0 ❤️
1 💬
0 ⬇️
Free

Lion Floral Iphone Case 6/6s
This beautiful Iphone case surely looks great and is easy to print. The design was inspired by a...
2 ❤️
1 💬
0 ⬇️
$2.0
Comments (1)
Sign in to leave a comment.
No comments yet. Be the first to comment!