
Description
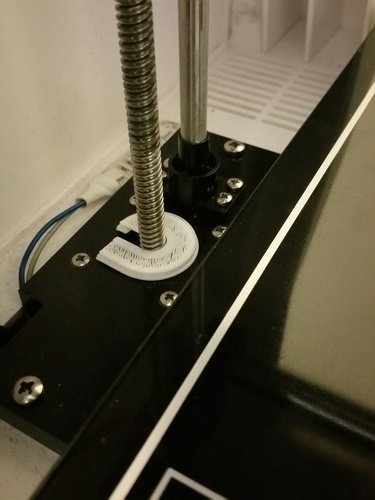
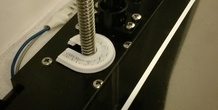
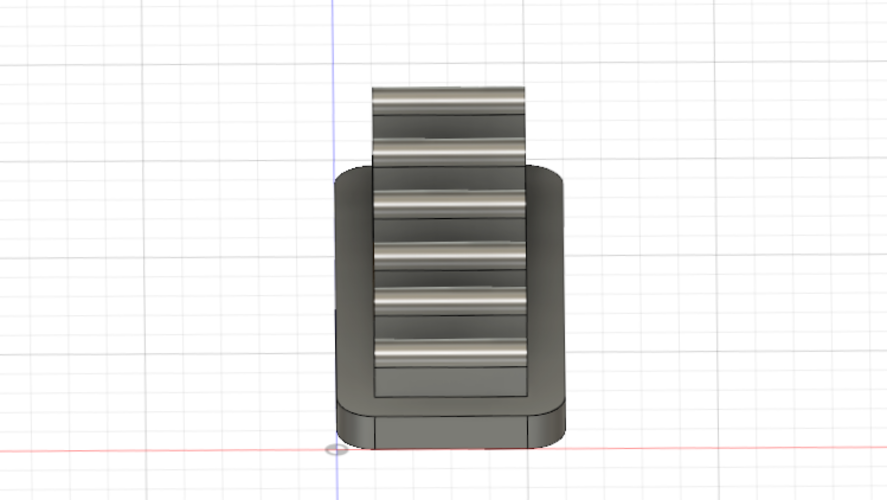
SummaryI added the Lead Screw upgrade to my Robo3D R1 and then found I had this hole exposing the screw connected to the motor. I was afraid little pieces of plastic can fly in there and damage something.
I wanted a solution but I didn't want to take everything apart to implement in.
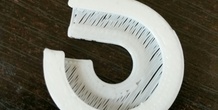
So I came up with this quick printing hole cover (3 min max) that is easy to slide on the screw without messing with the thread. InstructionsPrint Info
Make sure you print with the hole facing down
PLA
.3mm Layer Height
No Support
20% Infill (keeps it flexible but strong)
(recommend you scale up 1% to make sure printing excess doesn't mess with threads on lead screw)
I purposely made a small thin first layer and then bridged the second layer to cause that mesh look but also for flexibility. I found when I had a full first layer it would be too stiff to print with PLA.
More from this category
Cable Divider
Simple little cable divider up for the ones who want it ;) No supports required
2 ❤️
1 💬
0 ⬇️
Free
SD Card Flash Drive Holder
by Gpasteve
SD Card/ Flash drive holder that can be mounted to a 3d printer, a desk or a shelf .
0 ❤️
1 💬
0 ⬇️
$0.5
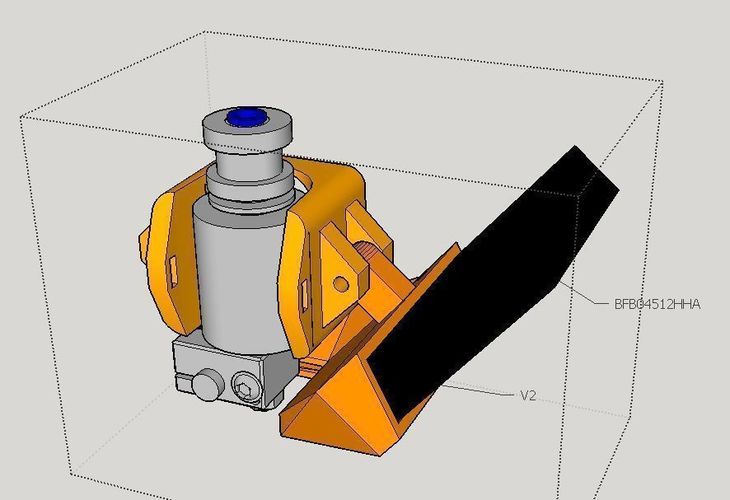
E3D V6 bowden Fan duct for Kossel
by dTom
Summary2 vents blow to hotendInstructionsbowden Fan : 45x12 ( Model : BFB04512HHA ) Layer high : ...
1 ❤️
1 💬
0 ⬇️
Free

Apple Pencil with Smart Cover clips for iPad Pro
by vova_chmarak
Clips for iPad Pro with Smart Cover and apple pencil
1 ❤️
1 💬
0 ⬇️
Free
Flexible covid ear saver (13 to 24 cm long)
by imakina
Flexible ear saver 13 to 23 cm long. Only 1 gram each piece.
1 ❤️
1 💬
0 ⬇️
Free
Comments (1)
Sign in to leave a comment.
No comments yet. Be the first to comment!