Description
SummarySo, it turns out you can 3d print RIGHT ON CLOTHING! NEAT!
Hello #PRINTERNETS!
This is the SPAM! logo from the bag that I printed in the last episode which is the full how-to for printing on shirts and cloth.
After a bunch of trial and error, I've worked out the process!
3 first layers, at the least
Low heat
Lower layer height than .25
Use Avery Label Sheet
(These: http://www.avery.com/avery/en_us/Products/Labels/Addressing-Labels/White-Mailing-Labels_05353.htm
or These: http://www.avery.com/avery/en_us/Products/Crafts-%26-Scrapbooking/Sticker-Project-Paper/White-Sticker-Project-Paper_03383.htm
Pretty much, any sticker sheet works. I tried 3 types.)
Cut out a sheet that is the size of the build plate.
Stick the sheet on the back side of the cloth.
Clip down the cloth (sheet side under) on all 4 corners, being sure that it is flat.
Re-level your build plate so that the nozzle just touches the cloth.
I have no idea how well it will stand up to the washing machine. (I suggest using fabric glue.)
As usual, here is the build video: https://www.youtube.com/watch?v=o90CNL4oyJ0
See you next time!
More from this category

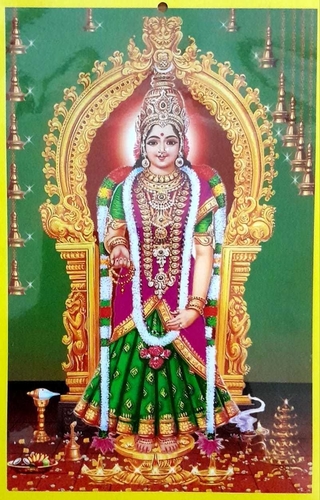
Kanyakumari Devi Bagavathi Amman Statue
by Nanjil eServ
Kanyakumari Devi Bagavathi Amman Idol
0 ❤️
1 💬
0 ⬇️
$80.0
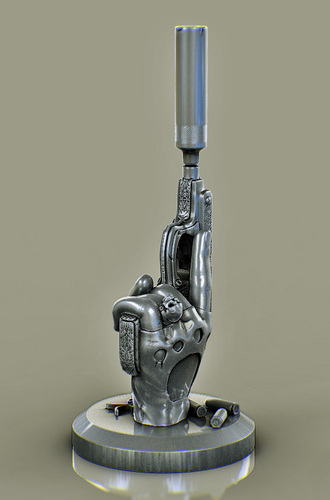

The head of Stephen Colbert - Voronoi Style
The head of Stephen Colbert - Would it make a good pencil stand? There are four types to download...
5 ❤️
1 💬
0 ⬇️
Free
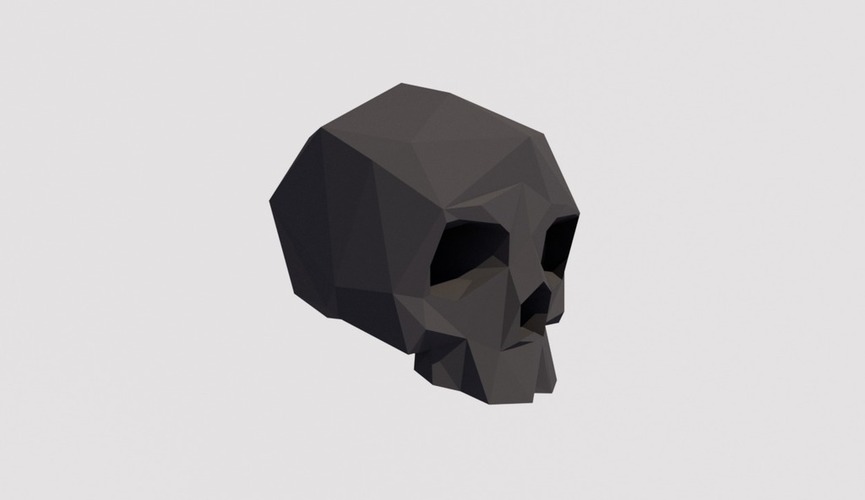
Skullvex
SummaryTiny skull model, simple low-poly design, cool desk modelPrint SettingsRafts: YesSupports...
12 ❤️
1 💬
0 ⬇️
Free
Comments (2)
Sign in to leave a comment.
I've been experimenting with 3D printing on streetwear and recently tried adding some flexible TPU designs to a plain black hoodie for a custom look. It actually gave me some serious inspiration because I own a hellstar hoodie at https://hell-starhoodie.com/, and the bold graphics and unique textures made me wonder how well 3D elements could complement that kind of aesthetic. I think combining 3D printed elements with already standout designs like those found on hellstar pieces could take personalization to a new level. Has anyone tried printing on branded hoodies before? Curious how it holds up after washing.