
Description
Summary
Hi,
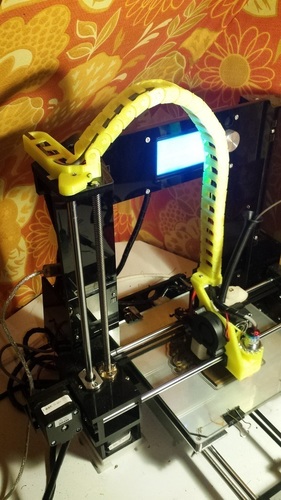
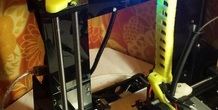
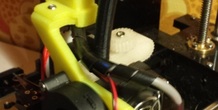
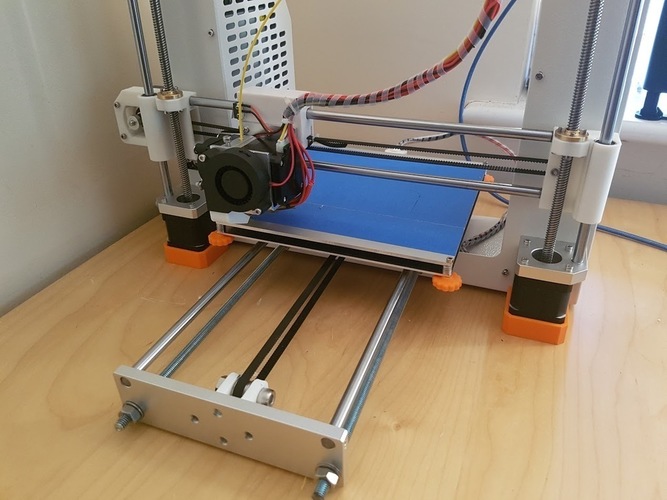
This is a great improvement for the Anet A6 printer : 3D parts for holding a promity sensor diameter 18 (Ref. LJC18A3-H-Z/BX NPN NO, from eBay) AND a cable chain with both end that fit printer and sensor holder.
You will also find the "configuration.h" file that is needed for Skynet Marlin firmware for Anet V1.1 board. This file contain exact settings for the Anet A6 (Skynet provide one for Anet A8 only at the moment), and particulary the good offset dimension "nozzle to sensor" for this particular proximity sensor holder part.
To replace the Anet proprietary firmware with Malin firmware, check the very good (and functionnal) work made by Skynet3d here : https://www.facebook.com/skynet3ddevelopment/
Don't forget to replace "configuration.h" file by this one for A6.
Print Settings
Printer:
Anet A6 Rafts:
No Supports:
Yes Resolution:
0.2 Infill:
50% Notes:
No troubles to print theses parts.
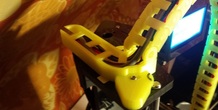
You will need about 13 parts of "Cable Chain Left" and 13 parts of "Cable Chain Right". You have to alternate them when assembling (see pictures).
Post-Printing
Sensor Holder...
Pay attention to the lower right screw of nozzle fan : you don't need the nut anymore, it screw directly in the plastic part (don't screw too hard !!). The upper left screw still need his nut.
More from this category
Horloge 24 h Bricoloup
Summary Petite Horloge de 200/200 fichier stl corriger 0/24h
1 ❤️
1 💬
0 ⬇️
Free
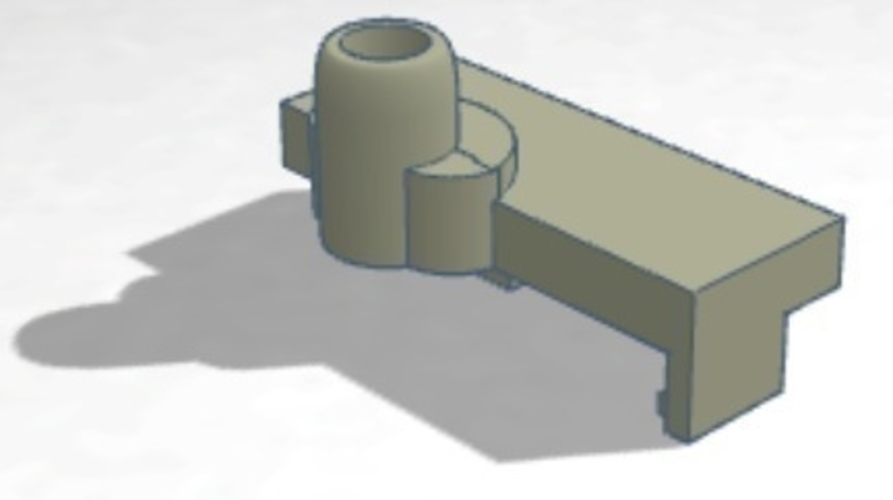
Palette PTFE Tube Holder MK2S
by malcinator
Summary This thing was made with Tinkercad. Edit it online https://www.tinkercad.com/things/48rs9...
1 ❤️
1 💬
0 ⬇️
Free
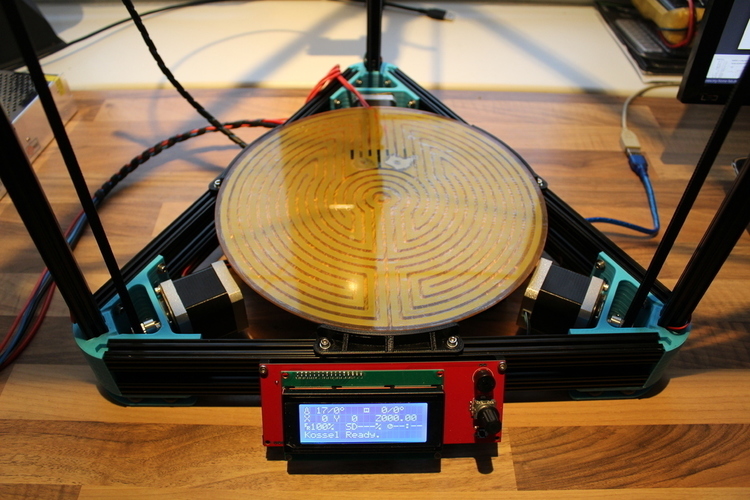
Kossel XL buildplate tabs (250mm glass)
by Oeve
Summary Made these mounts so was able to place a heat reflector under need the heated build plate...
1 ❤️
1 💬
0 ⬇️
Free
JG Aurora A3 Stable Feet
by CdRsKuLL
Summary A very simple mod to try and improve the print quality of the JG Aurora by making it more...
1 ❤️
2 💬
0 ⬇️
Free
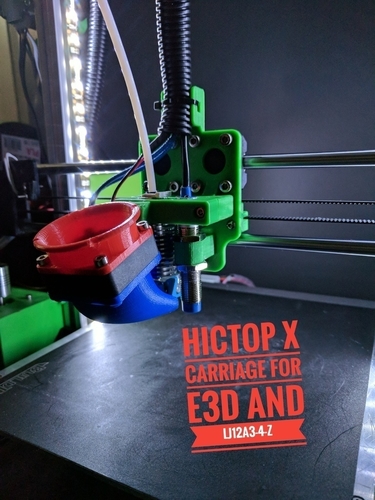
Hictop Prusa i3 X_Carriage mk3 for E3Dv6 LJ12A3
Summary New X carriage version, to support a LJ12A3-4-Z/BX sensor. This moves the sensor 17mm aw...
1 ❤️
2 💬
0 ⬇️
Free
Comments (9)
Sign in to leave a comment.
This is an impressive project! Auto-leveling beds and cable chains can make a huge difference in enhancing the precision and efficiency of 3D printing setups. For anyone managing complex 3D printing workflows, ensuring that your systems are running optimally is crucial. Reliable <a href="https://itsupportexperts.net/">IT Support</a> Services can help maintain the software and hardware side of things, so you can focus on innovation without interruptions. Thanks for sharing this design—looking forward to trying it out!
Great design for the auto-leveling bed and cable chain! Precision and efficiency are key in 3D printing, just as they are in maintaining a pest-free environment. For anyone in Milton looking for a reliable <a href="https://mirakpestcontrol.ca/">Pest Control Service</a>, professional solutions can make all the difference. Keep up the innovative work!
For a comprehensive collection of scholarly articles, <a href="https://www.alltheragefaces.com/advantages-of-using-custom-writing-help/">go to website</a>. It's a valuable resource that ensures access to high-quality, peer-reviewed content, making it an indispensable tool for researchers and academics alike.
Your post is very interesting and attractive, the content is very practical and noticed by everyone. Thank you for sharing. <a href="https://fireboyand-watergirl.com">fireboy and watergirl</a>
How did you wire the sensor?
Hi, My sensor was input/output 12V. So if it's good for input, output must be ~5V. Moreover output is 300mA. It's easly made with two resistor (one 15kOhm, one 10kOhm). As for exemple : http://i.hizliresim.com/1MoJpY.png
Nice, love it.