Description
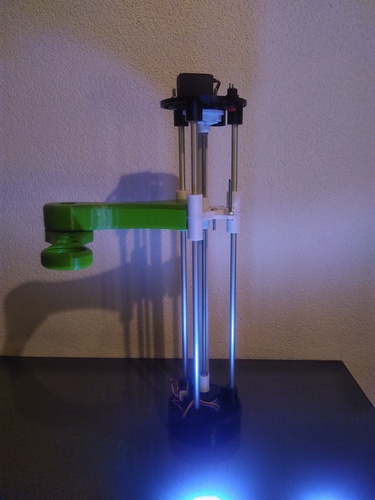
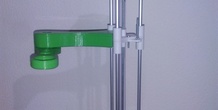
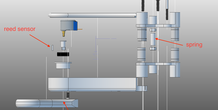
This SCARA robotic arm is suitable as a base for programming projects. Considering it costs less than $ 40, the strength it can support is not very high. The choice of materials is mainly due to the fact that I wanted to use some pieces I had in stock(For this reason I used reed sensors and 3$ stepper motors).
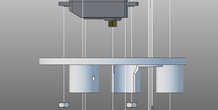
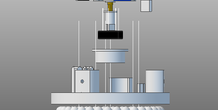
The top plate ("top.stl") is suitable for both a stepper and a 360 servo to handle Z movement. If you are using a servo, you also need to print the rev counter (“rev_counter.stl”) and mount an extra magnet and an extra reed sensor. If you use a stepper, you will only need an extra coupler. For convenience I recommend the second solution (also because it's simpler to program).
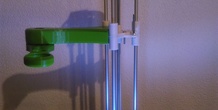
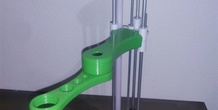
I decided to leave a thread hole at the end of the arm so that you can design your own modules and I hope that you will share them with the community.
I advise you to convert the steppers to bipolar function, so they will have more torque and they will work directly with the Arduino RepRap and CNC boards, to make it, follow this tutorial.
Unfortunately I did not write any demo program (I hate to programming)
If you like this model and want to see it move, write some lines and share your code please.
If you have any questions, let a comment and I will answer as soon as possible. if many people will have questions about th assembling process, I will make a video tutorial.
Material:
-3x 8mm steel bars (you can choose the length)
-1x M6 threaded bar
-6x M6 nuts
-12x M4 nuts
-2x M4 25mm screws
-9x M4 20mm screws
-34x 8mm steel balls
-2x M3 plastic screws
-1x M4 50mm
-2x 22mmbearing
-6x 8mm linear bearing
-1x 7mm x 20mm spring
-1x button
-1x micro bearingConfiguration one:
-3x reed sensor
-3x 6mm magnets
-2 stepper
-1x360 servo
Configuration 2:
-2x reed sensor
-2x magnets
-3x stepper
-1x coupler
Printing settings (BQ Witbox):
200 micron
60 mm/s
supports everywhere
More from this category
Smart LCD Case Stand Alone version
A stand alone LCD case for the RepRap Smart LCD with SdCard reader
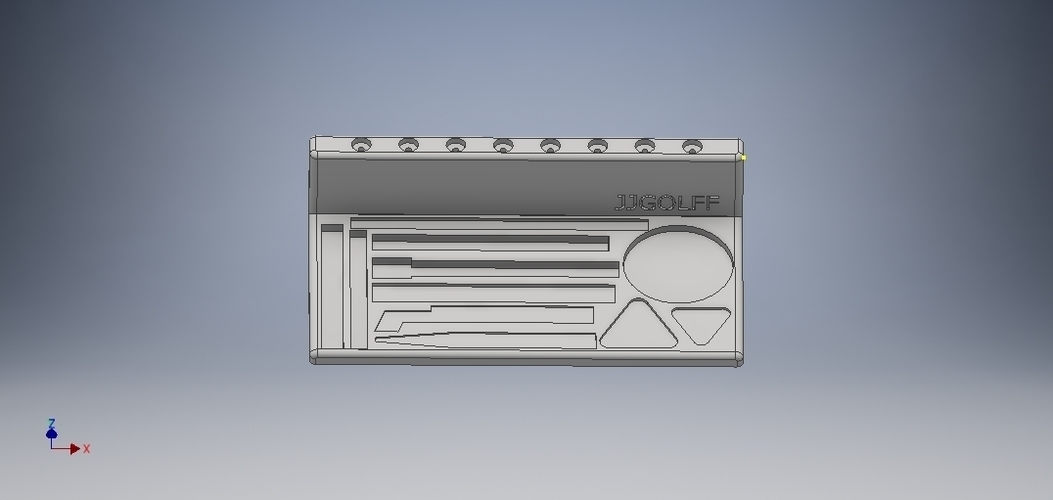
Mobile repair tools
by jjgolff
Herramientas de apoyo para la reparación de los móviles. Impresora 3d 220 x 220 x 220. PLA....
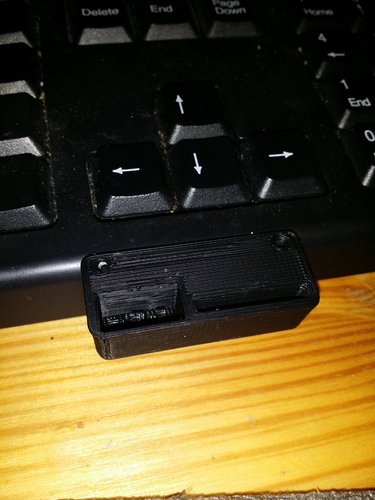
SD Card Flash Drive Holder
by Gpasteve
SD Card/ Flash drive holder that can be mounted to a 3d printer, a desk or a shelf .

Apple Pencil with Smart Cover clips for iPad Pro
by vova_chmarak
Clips for iPad Pro with Smart Cover and apple pencil
Flexible covid ear saver (13 to 24 cm long)
by imakina
Flexible ear saver 13 to 23 cm long. Only 1 gram each piece.
Comments (1)
Sign in to leave a comment.
No comments yet. Be the first to comment!