


Description
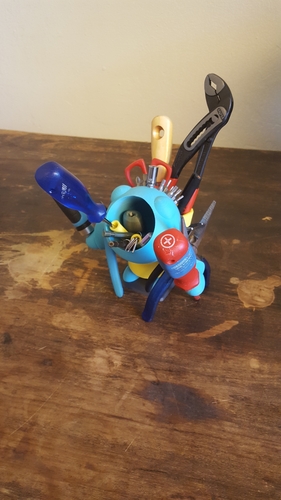
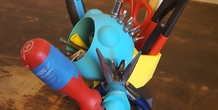
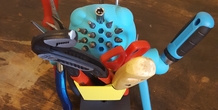
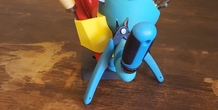
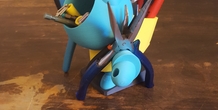
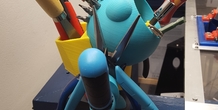
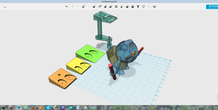
Therefor Tool stand man has 4 mounting options (base plates) with the idea that you can place him anywhere. :-)
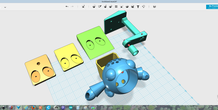
In the print screen you can see these 4 baseplates. 1 the orange one is the smallest one and I used that on in the pictures. You can mount Tool stand man with on screw. 2 the yellow one is the same as the orange one, but without the screw hole. With this base plate you can place Tool stand man lose on a table or something. 3 the green one is the same as the yellow one, but bigger for more stability. 4 the last one is a clamp option. But I didn’t test this model, because I didn’t need it. For assembly see print screen.
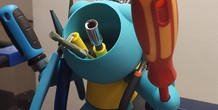
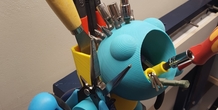
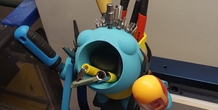
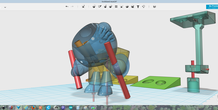
You need 2 threated rod M4 length 84mm and 4 nuts to put Tool stand man together. The “straws” are pieces you can put in his mouth for storing little things, but is not necessary.
Printed in gray, blue and yellow ABS, resolution 0.2mm
More from this category
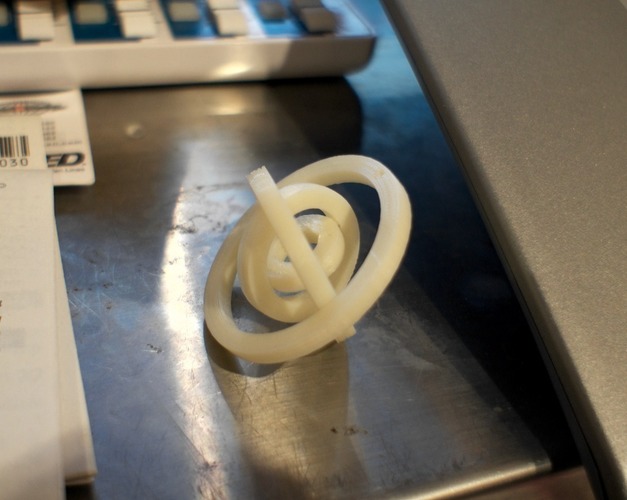
Spinny fidget
by fluffy
I just felt like throwing together something that would be impossible to manufacture with traditi...
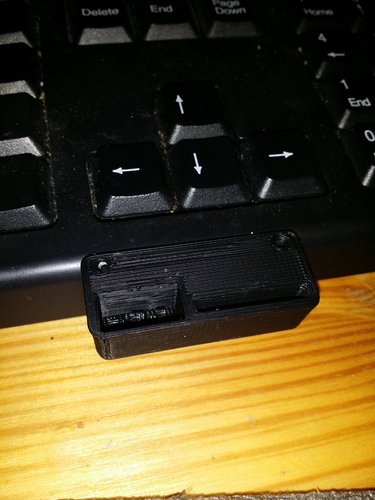
SD Card Flash Drive Holder
by Gpasteve
SD Card/ Flash drive holder that can be mounted to a 3d printer, a desk or a shelf .

Apple Pencil with Smart Cover clips for iPad Pro
by vova_chmarak
Clips for iPad Pro with Smart Cover and apple pencil

Flexible covid ear saver (13 to 24 cm long)
by imakina
Flexible ear saver 13 to 23 cm long. Only 1 gram each piece.
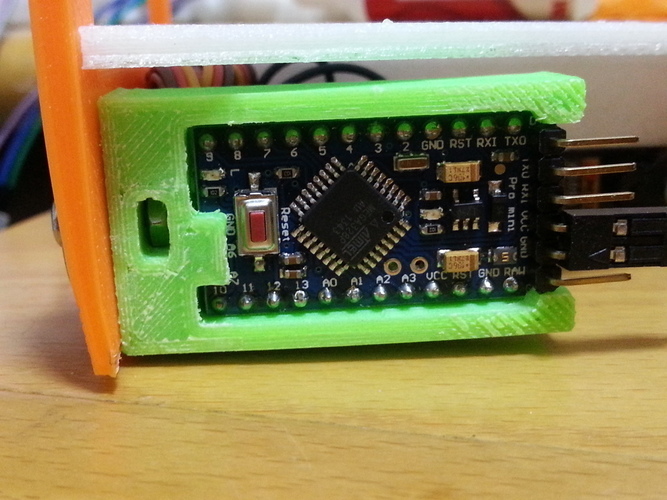
Arduino Pro Mini Holder
by dTom
SummaryUpdate V3, More secure to hold the Pro mini For Plotclock on Note 2 (http://www.thingivers...
Comments (4)
Sign in to leave a comment.
Thank you this is a great design! How does the clamp go together? I'd like to clamp this to my work bench.
Hi Nick
You are the first to ask a question after all this time this model is on the Internet.
I saw that the part “ base 4C clamp” did not have the bore where the bolt can go trough.
Therefore I re-uploaded that part with the bore.
Just assemble “base 4A clamp.stl” & “base 4B clamp.stl” so they make one part. And assemble “base 4C clamp.stl” & “base 4D clamp.stl” so the make one part. Then those 2 sould fit together as one.
the Idea is that part “base 4C clamp.stl” can slide over part “base 4B clamp.stl”. The it can be locked in the position you need with a M4 bolt en nut (that are housed in the “base 4c clamp.stl” part) the final lock down of the clamp is done by screwing in the M6 bolt that is also hold by the “base 4C clamp.stl”.
I hope its clear to you now.
Otherwise feel free to ask