Description
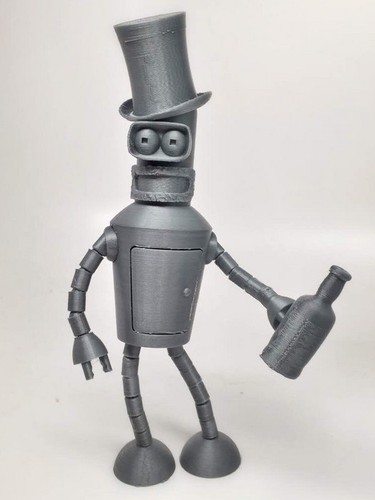
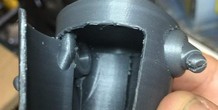
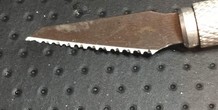
Hey, wanna kill all humans? Bender is a work in progress and as I said in the description, I'd like help in making a suite of accessories if at all possible. Make something and tag it as a remix! I've included a stl called "handcut" that will make the right size holes for the fingers to grab(don't print it, un-manifold on purpose). Sink it in almost to the bottom of the cylinders and Boolean. Smaller parts and those with not much of a footprint could use help from a brim. For me, these were: Cigar, beam, antennae. All other pieces seem to stand on their own. Some of the objects have numbers after their names. These numbers indicate the amount of each piece you will have to print to make one complete model. If you are painting the piece, you can print multiple eyes for different expressions. The body took the longest to figure out. I made it with small tabs at the top and bottom of the door that will need to be cut through with a blade. I made mine serrated and have included a photo to illustrate. I had different parts of the door fuse due to printer settings. If that happens for you, a little work with the serrated blade will open it up. After the door is cut all around, gently pry it open to work the hinges loose. Clean up around the armholes and tabs on the inside with a blade so the tabs are able to be pressed and moved slightly. To assemble the shoulders, press one tab(there are 2) and insert the shoulder into the socket at the same time. The ridges in front and back both need to be set completely into the ring on the shoulder. This will allow the shoulder to rotate with a little tension. Attach 4 links to one shoulder to make an arm. The link2 pieces are the first ones to attach to the bottom of the body for legs as they are angled slightly. Attach 5 links to this to form one leg. If the links don't fit together with a little push, run a blade around the inside hole of the link to loosen it up. Links and hands can be printed with a high infill number to make them tougher. The foot has a hole in the bottom that will fit rare earth magnets if you want to glue one in.
More from this category
Knuckle Claws
by dwoodruf
Makes it look like you have claws coming out of your knuckles.
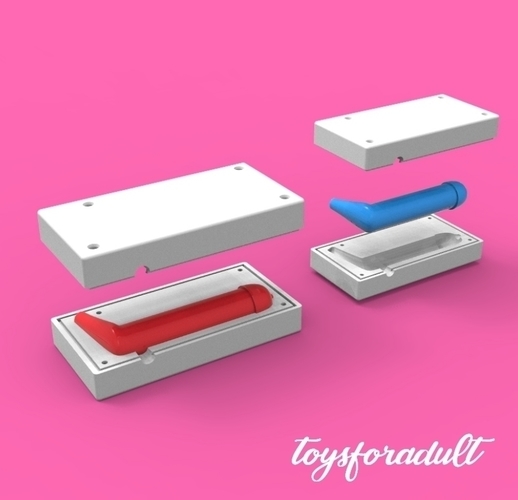
MULTIFUNCIONAL SILICON DILDO'S MOLD !
by toys4adult
This is a multifoncional dildo4you ⚠️💋❤ Sanding to the mold to have more fun⚠️💋❤ Doesn't Need...
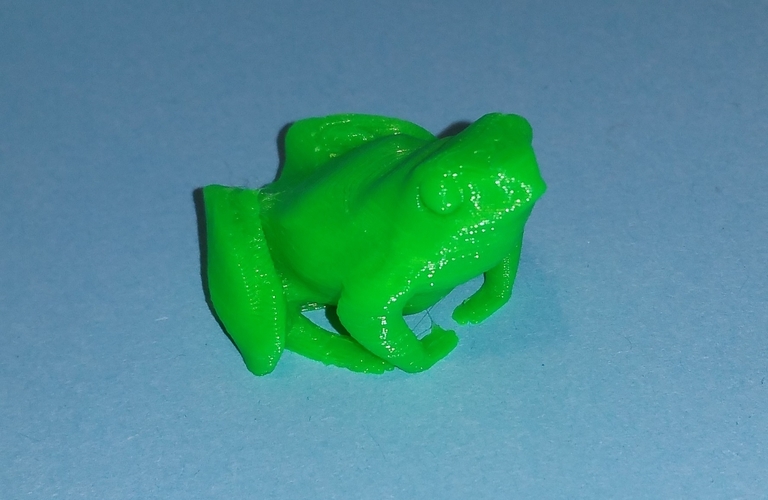
a little frog
by ogolum
I creat this frog, because i love frogs. I scaled it 15x, Print Settings: 0.2mm, no raft, no Supp...
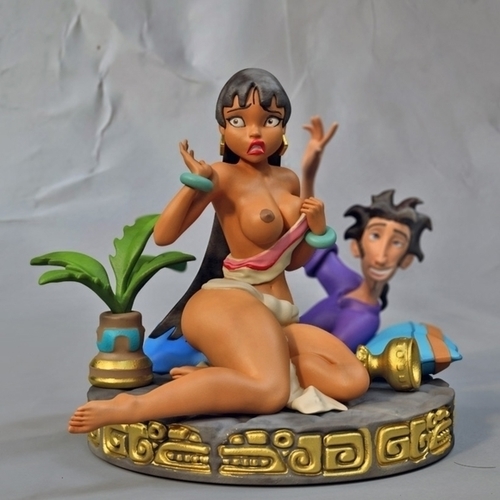
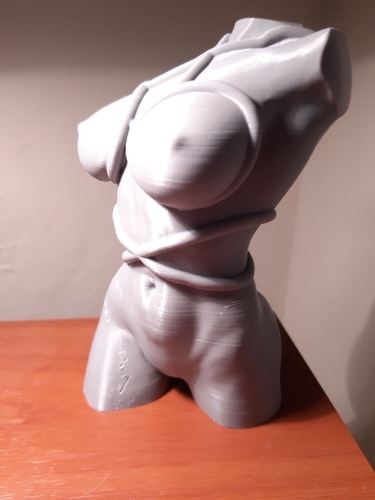
Princess Maya Chel nsfw model 3d printing
by uu3dprints
you can buy the model here if pinshape not working, Princess Maya Chel nsfw model 3d pr...
Comments (6)
Sign in to leave a comment.
Rested littles, happy families
Newborn care specialist, certified in infant & toddler sleep, Visit Now: https://sleepforlittles.net/
such a great and smart design keep up the good work
just look this cool trick & forget hot bed
http://www.thingiverse.com/thing:1911919
Enjoy & happy printing...
This is a great design! Will have to print this out for sure.