
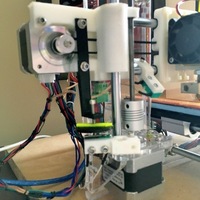

SummaryYou will need a couple of 3 x 20 mm adjustment screws to complete. I drilled a mounting hold in my existing Z endstop to allow it to be mounted on the stepper motor plate. I had to file a square area for the limit switch since it had to go on the other side.
I suggest using PLA as it is harder and more stable than ABS.
For the arrow component, make sure you start the threads so the screw goes in straight. I did this while still on the bed. Then when you thread it onto the adjustment screw, allow the screw to protrude about a quarter inch past the disc so that only the screw engages the limit switch.
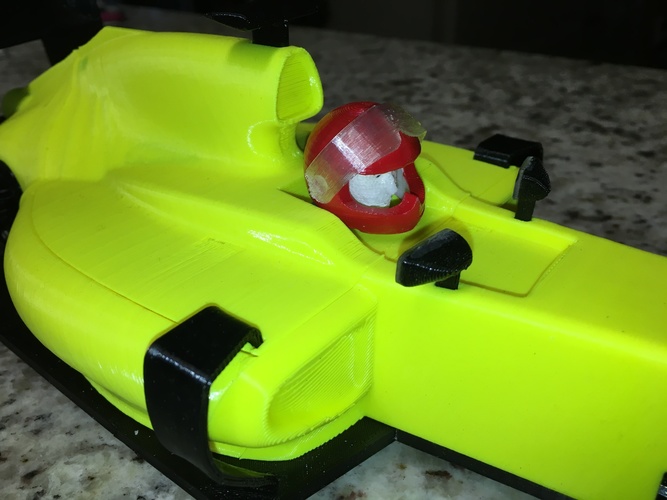
If you insert an M600 command at layer height Z=2.2, you can change filament colors to have a contrasting color for the arrow.How I Designed ThisI printed this at .2mm using Black and Yellow PLA. I inserted an M600 command at layer height 2.2mm to pause the print and change filament.
Loading prints...
Prusa I3 Z Axis Adjuster
0
likes
0
collections
Tags:
Creative Commons Attribution
You can distribute, remix, adapt, and build upon the material in any medium or format, as long as attribution is given to the creator.
 Licensed under CC BY
Files Included
2 downloadable files:
Free download - login required
Downloaded: 52 times
Downloaded: 52 times


Loading comments...