


Description
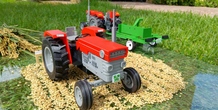
- One day like today in 1971 my father bought his first tractor. Today in its 45th anniversary, I proudly present my next project, the OpenRC tractor. It's an open source 1/10 scale replica of an original Ebro 160D tractor. I designed it all from scratch and 3D printed all parts. Then, I added some electronics, nuts and bolts and I made it work!
I also prepared some basic instructions and BOM, so you can easily print and assemble your own tractor. It is designed to be easy to print and no supports are needed for any part.
Points to bear in mind:
- As part of optional parts, you'll find different optional plates. There is one for Spain and one for Sweden because there are already OpenRC tractors in both countries. If you print your tractor and you would like to have a plate with your country letters, write a comment and I will try to add it.
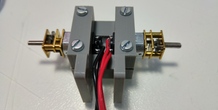
- Recommended motors have poor torque. They work on smooth surfaces but not off-road. I'm preparing a mod to upgrade the tractor with a more powerful motor (coming soon...)
- I used same bearings as OpenRC formula1 to make it easier for those who already have the F1.
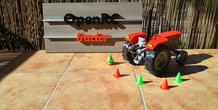
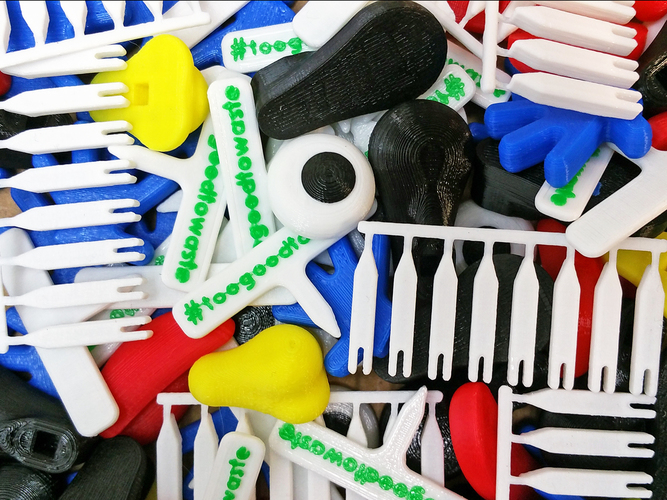
And you know what the best thing is? You can design your own tools!
With OpenRC tractor, possibilities are endless, some tools coming soon... (watch the video and more pictures at makitpro.com)
There is a lot of work put into this project, hope you like it and to see your prints soon!
UPDATE: (31-10-16)
- Get the tractor trailer at https://pinshape.com/items/279...
- Get the motor mod to use a standard 540 size motor at https://pinshape.com/items/279...
UPDATE: (17-11-16)
- Get the tractor fertilizer at https://pinshape.com/items/287... watch the video at http://makitpro.com/index.php/...
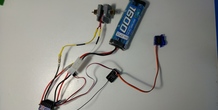
UPDATE: (5-12-16): Added connections detail for micro-motors (for standard motor check https://pinshape.com/items/279...) and for steering.
UPDATES: More updates and FAQ section with more information about assembly and materials can be found at http://bit.ly/openRCtractor
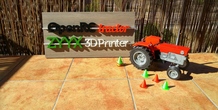
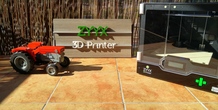
Thanks to ZYYX 3D printer for sponsoring the project. OpenRC tractor project follows OpenRC by Daniel Noree's philosophy and it is licensed under CC-BY-SA 4.0.
Recent Prints (0)
More from this category
Explore Making: VeggieMake
Students are given a VeggieMake (a toy that turns produce into a cute character)– but the pieces ...
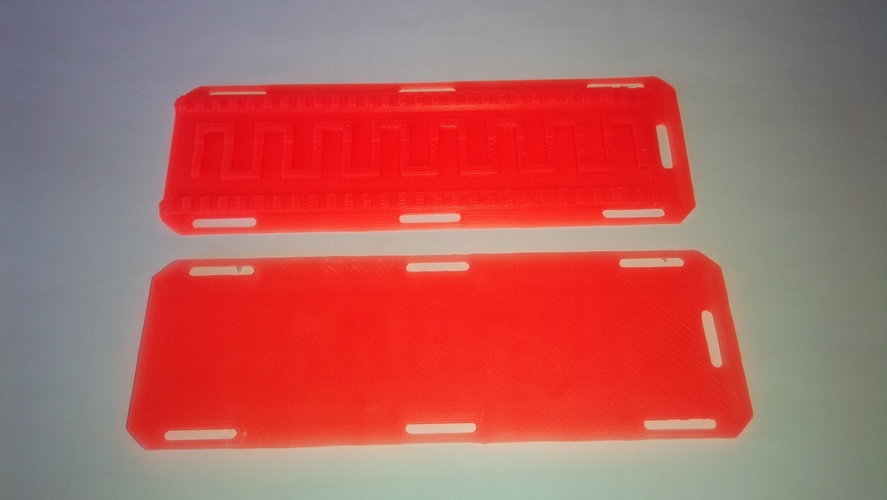
Scale 1/10 car rescue board
by Gekon3D
This is a scale car rescue board for your RC car equipment. Two possible way to print this...
Comments (36)
Sign in to leave a comment.
Can someone tell me the size of the rear tires on this?
I have a couple of 155mm tall tractor tires I plan on using on a printed RC tractor and if they're close enough I might just go for this model instead of designing my own tractor because I'm most interested in designing (functional) tools
where can I find a file for the cab that you have on the tractor?
Hi Cristobal, I am almost there, testing the electronics today, the only thing is that the tractor does not have a reverse, I only can drive forward? I also find out when you turn a wheel manually the other wheel will also turn by itself in the other direction, I guess because both motors are linked together and one motor is generation power by turning. Is this maybe the reason why I cannot drive backwards? Sorry RC is completely new for me.
Sorry to hear that. You definitely should have forward and reverse but there are some speed controllers (esc) with only forward function. It depends on the model. About motors running in opposite direction, that is because of the connections. Take a look at http://makitpro.com/index.php/openrc-tractor/ to see if that new FAQ section can help you with your problems.
Is it possible to have a detail Assembly of the mechanism at the back
Hey! check http://makitpro.com/index.php/openrc-tractor/ where I started a FAQ section with some extra information.
Hi there, do you happen to have some pictures how the servos for the steering goes? as not 100%. Thanks heaps
Hi!! Take a look at http://makitpro.com/index.php/2016/11/26/openrc-tractor-connections/
What is the next update
Sorry for the late reply. Stay tuned to my twitter @makitpro and to my site makitpro.com, some new tools and an add-on is coming very soon.
Fantastic Design. Grand Kids can wait.
Thanks!
Do you have a pic of the front steering assembly? Getting near final construction, but...
Done!
Update on my tire printing.I edited rims in tinkercad removing centre rib.I then printed tires in PLA using 20% infill,4 perimeters for top,bottom and sides with 2mm layers.The tires snapped together perfectly on the edited rims and look awesome.pics soon!!
It looks awesome! It's a rush to see a new print of my tractor! Congratulations on your print!
ok, I am half way with the prints :-) can you provide an image with the inside of your tractor so we can see how you installed the electronic like you did for the motor? I also printed my first tire with ninjaflex, the tire is not closed at the end, my guess because I used only 0,6 for first and last layer. What setting did you used?
I wrote a new post with inside pics here: http://makitpro.com/index.php/2016/11/26/openrc-tractor-connections/ About the tires, it depends on the printer and filament ( I use ZYYX proFLEX) but I think you're right and your first and last layers aren't thick enough. I normally use a minimum of 4 or 5 times layer height (meaning 1.2 or 1.5 if you print 0.3 layer).
Wow amazing creation. how did you build the drive train and where did you get motors and electronics?
Thanks! Check BOM pdfs where you can find links to where I bought the electronics. There is also a motor detail picture. There is also a new article with more inside pics here: http://makitpro.com/index.php/2016/11/26/openrc-tractor-connections/ Hope that helps!
i have printed about 70% of the tractor so far, i run a bowden extruder and v6 hotend on a da vinci printer so i wont be able to print the tyres in flex filament, i have split the tyres in half on tinkercad and plan to print both parts in ABS then glue together with rim apart from that mod the whole project is printing excellent and i cant wait to assemble it , THANKS again for a great model
I really appreciate you taking the time to write positive comments on the project. Your approach for the tires is great if you can't print with flex filaments. I'm very eager to see your tractor completed :)
Thank you for a quick reply. My son (as well as me :) ) cannot wait to finish this project. Videos are great :).
Yo are very welcome!. I cannot wait to see your completed print ;)
This is a great project to do with my son. What filament and 3D printer did you use? it's also interesting to know your print settings that you use to print the tractor. Thanks for sharing !
Thanks! I use the ZYYX 3D printer and ZYYX proPLA filament for all parts except for the wheels that are proFLEX flexible filament. Normally I use 0.2 layer height for small parts and 0.3 for bigger parts. No supports are needed for any part. Infill 20% for all parts except for the wheels where I use 0%. The wheels use flex filament and settings are quite different depending on the printer. With my printer I use simplify 3D and the default profiles work perfect out of the box. Let me know if you need anything else ;)
Than you! That is correct +-47mm, I used mm for the stl files. Let me know if you need anything else. Looking forward to see your print!
What a great project! What type of units has been used in the stl files? Is it a mm or in? I've printed the 26-front_rim.stl file and it has +- 47 mm diagonal. Is it correct or should I scale a print?