
Free
Summary
YouTUBE LINK: https://youtu.be/fmT-v8V6QAg
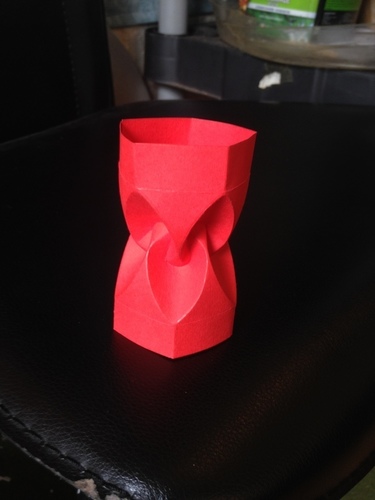
This is an object designed to be sliced in order to generate G-code that will use your 3D printer's extruder to leave a crease pattern in a piece of paper clamped to your print bed.
Step 1) Slice the object with the following settings
-Extrusion Width: 0.4mm
-Layer Height: 0.2mm
-Extrusion Multiplier: 0%
-External Walls: 1
-z-lift on travel: 1mm or more
Step 2) Unload your extruder so that when the nozzle heats up, it is not leaking plastic on the paper.
Step 3) Use binder clips to attach a piece of paper to your bed.
Step 4) Run the G-code while adjusting the bed leveling screws until the nozzle just presses into the paper leaving a crease. You may tear the paper during bed adjustment if your raise it too far. Once the bed it set properly, you should be able to make about one piece every 3 - 5 minutes.
Step 5) Crease and fold the paper along the lines drawn by the nozzle.
Robot ORIGAMI!
Loading prints...
Curved Fold Origami Object (David Huffman)
2
likes
0
collections
Tags:
Creative Commons Attribution
You can distribute, remix, adapt, and build upon the material in any medium or format, as long as attribution is given to the creator.
 Licensed under CC BY
Files Included
1 downloadable file:
Free download - login required
Downloaded: 40 times
Downloaded: 40 times

Loading comments...