


(Designed with B6.1 and B64D)
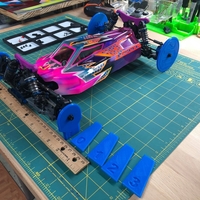
This is the same concept for any R/C. If you want the hard numbers on another car then set toe and camber to zero for your starting point. Hole diameter in the disks are Front 4.2mm Rear 5.2mm.
To use this setup station, the idea is to use a metric ruler. The rear disks are roughly the size of a stock tire so you could get away without them but it's best to have them on for a rigid setup that won't change the compression of the suspension.
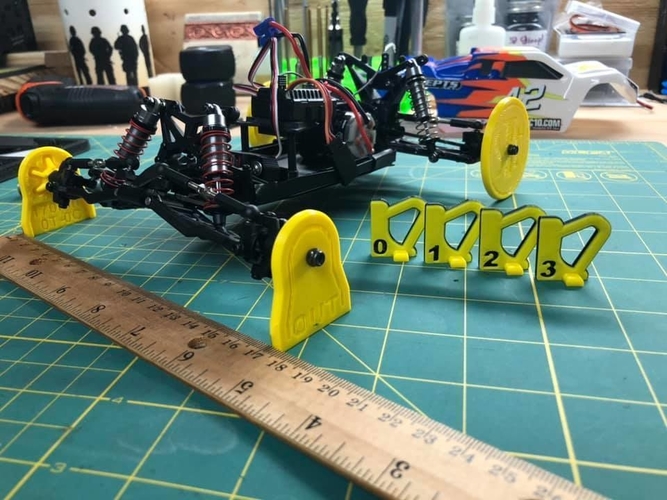
1) Bolt the disks (Round ones in the Rear) onto your axles flush to the hex. 2) Use the "0" Camber gauge and and adjust your disks to Zero Camber. 3) Lign the tip of the front disk on the left with the 0 on your ruler and start adjusting. Once you have about 170mm on the front and back of the disk, you are at "0" toe. 4) Check you Camber again to make sure it's still the same. 5) When you think you are at zero, pick up the car and set it back down and let it set naturally and check your measurement. 6) Now, set your Camber with the 0, 1, 2 or 3 degree tool and check your front and back measurements, they should still be the same.
Loading prints...
1/10 Scale Toe and Camber Setup Tools
Creative Commons Attribution-ShareAlike
You can distribute, remix, adapt, and build upon the material in any medium or format, as long as attribution is given and your contributions are under the same license.
 Licensed under CC BY-SA


Loading comments...